


Blood Moon I EX/UX
Objective: Defeat the boss
Recommended Echelon(s): AR/SMG (x2), HOC (AGS/Mk153), Dummy (x3)
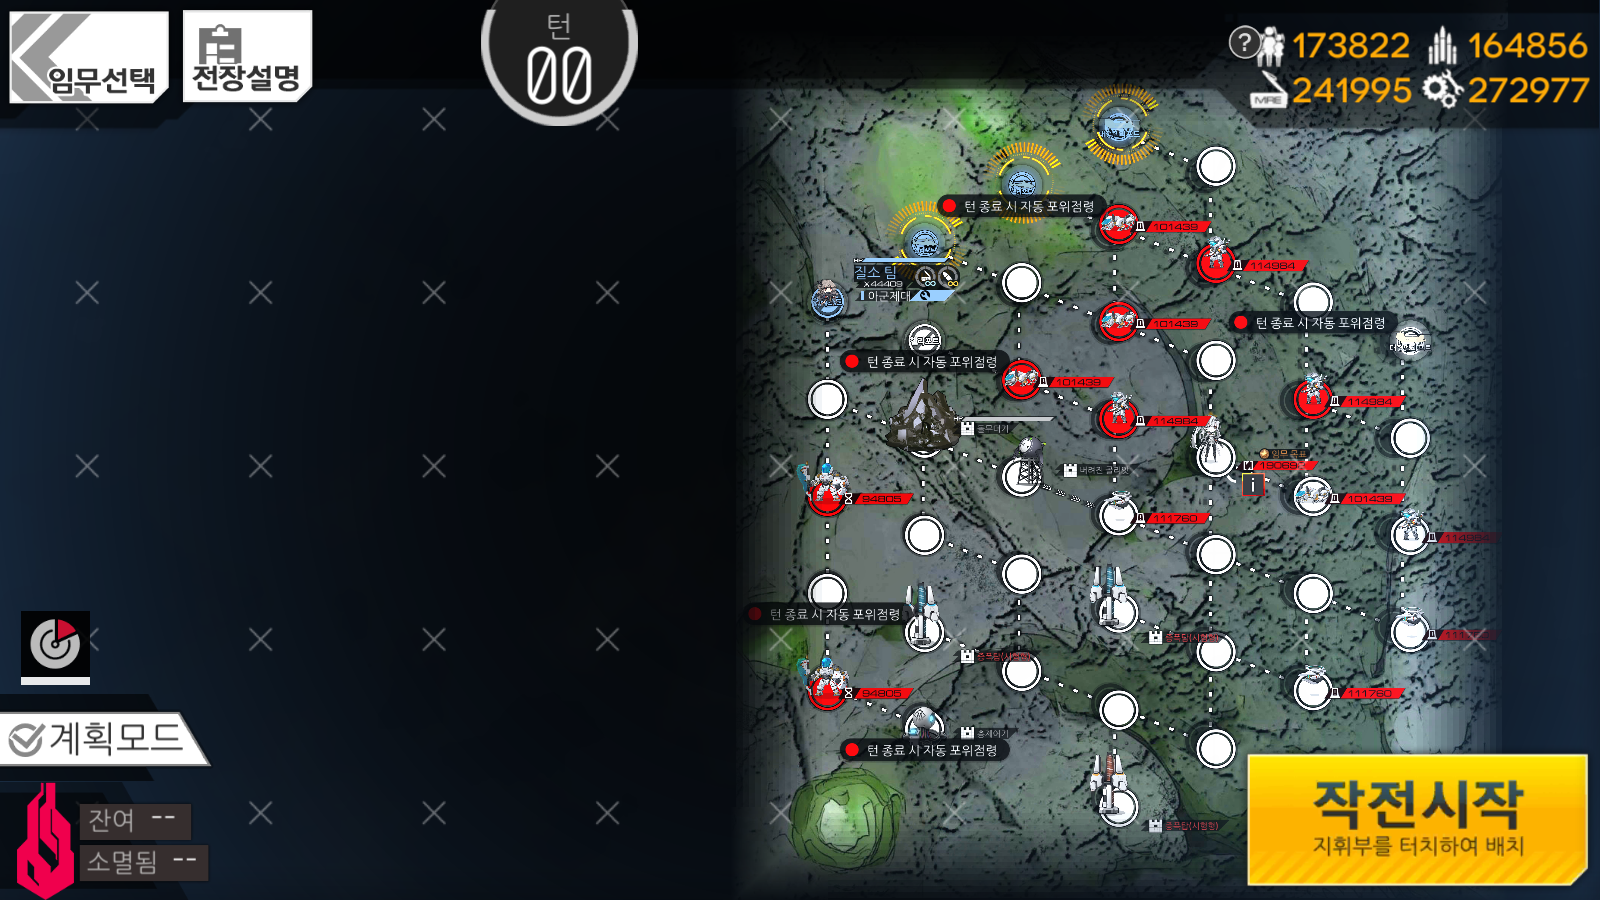
The idea for this map is that Grig is running away through a bunch of structures that will buff her. Engaging her with those buff towers giving her juice is...not the best plan, so we want to turn them off before fighting her. They're controlled by the little orb thing in the bottom left of the map. Since we have SP-9 over there, her goal is to deal with it. To aid her, she also gets three free movement per turn. Since there's two very buff enemies in the way, we WILL need to give her some fire support. So, let's begin.
To start things off, we want a HOC and two AR echelons deployed. There's a fair few enemies near our starting point that we want to clear out.
Move the AR echelon on the middle Heliport to the right two nodes to clear out the enemies over there. Deploy a dummy echelon on the Heliport and move it right one node as well so the Heliport isn't surround captured. Move your HOC to the right so you have a swap chain available. Speaking of which, swap your AR echelon with the dummy echelon so it can intercept the enemy nearby. Swap your HOC with the dummy echelon after so you have some range for your other AR echelon. Which we're moving one node to the right as well. Deploy a dummy echelon on the middle Heliport and that's it for your own forces.
As for SP-9, we want to move her down two nodes and engage the Hannibal. She SHOULD be able to take care of the fight, however, it'll be a little rough. Once you've cleared it, move her back up one node. There's little chance we can kill both Hannibals, so that'll have to do for now. End the turn here.
On turn two, make sure your HOC is resupplied. Use it to destroy the rubble that Grig left behind when she moved. Resupply again and now we need to take care of the rubble to the right of SP-9.
Move your HOC down to the AR echelon from the bottom Heliport so it has some range to support it. Move that AR echelon down one node, then one to the right to take out the Grenadier. Move your HOC to that AR echelon. Swap with it to have the range to blow up the previously mentioned rubble. After that's cleared out, move it to safety. Best spot would be to the right of the bottom Heliport. Move your AR echelon you've been using to the right of the closed Heliport that's under enemy control. Deploy a dummy echelon on the bottom Heliport.
With our remaining AP we want to go and grab the deactivated Golyat and move SP-9 towards the orb thing.
Turn three is when we'll start setting up to deal with Grig. Move SP-9 down to the Hannibal and use the deactivated Golyat on it. Proceed to the orb thing and use it. The buffs shouldn't be active on Teal now, so we can fight her.
Now, move your HOC to the right one node and use it to blow up the second set of rubble Grig has left. Move your AR echelon that you've been using for the last few turns up one node. Resupply your HOC and that AR echelon via swap now. Move both your HOC and AR echelon to the right one node. You could try and fight her now, but I prefer grabbing the shield tower's buff to make the fight a joke. Because of that, we'll have to go for it next turn.
On turn four, blow up the last bit of rubble in your way with your HOC. Be sure you have them in range of Grig for the fight. Move your AR echelon over to the buff tower and use it on yourself. You can engage Grig here and winning the fight will clear the map.
Video of me clearing this map
Author: Kazuki
Tags: Fixed Point