


Red Zone
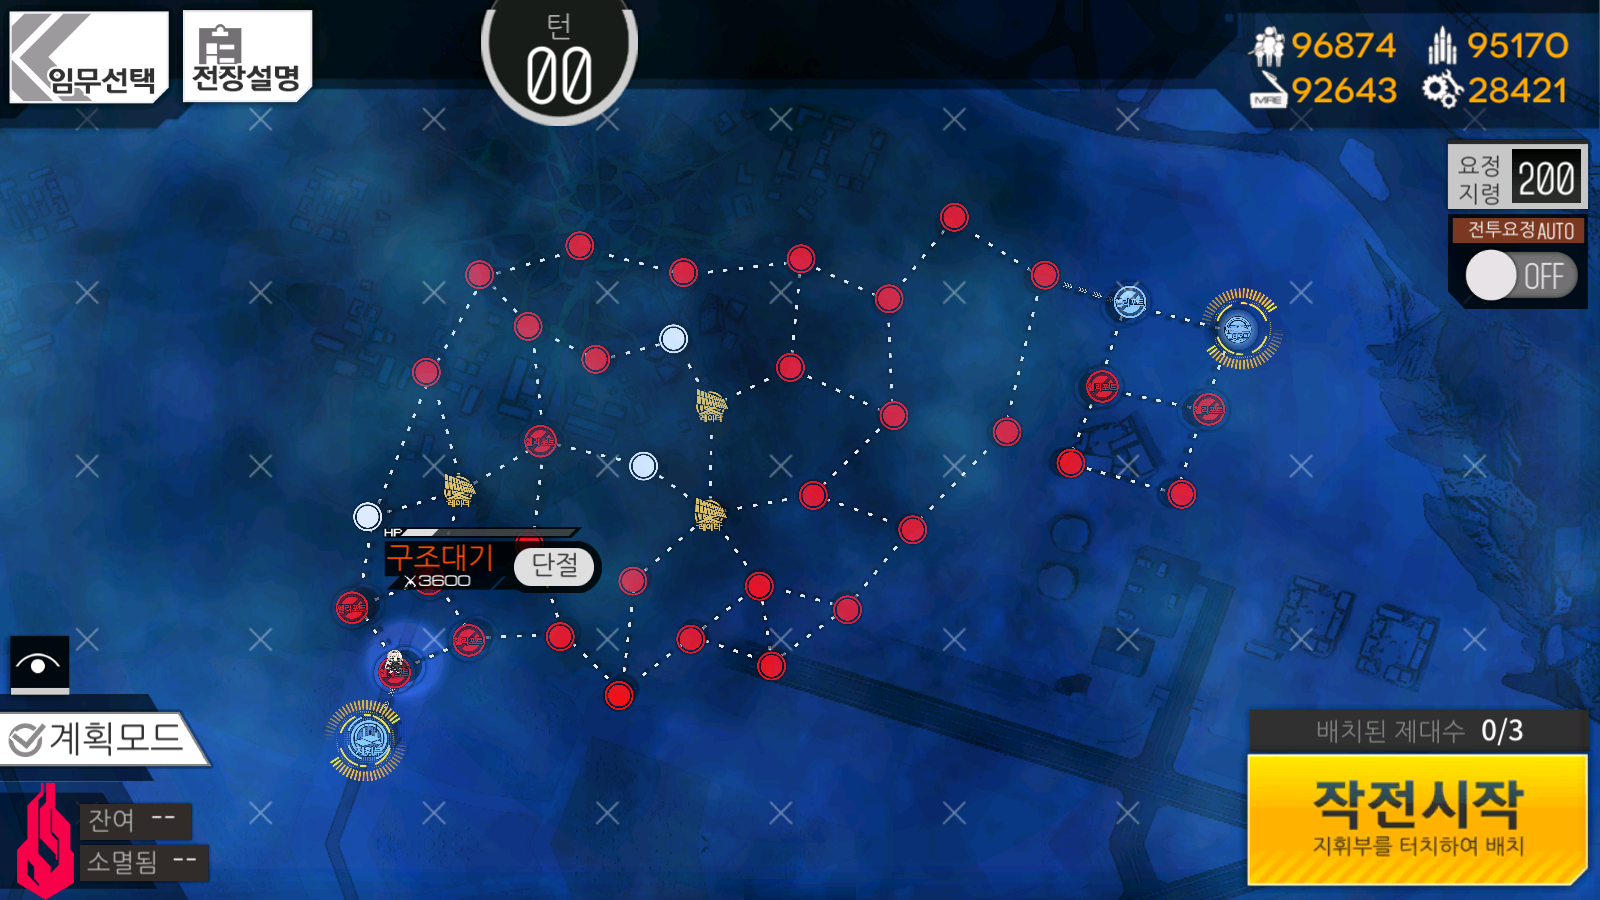
Objective 1: Rescue and Secure 1 Hostage
Objective 2: Survive 5 Turns
Turn Limit: 4
Echelon Limit: 3
Recommended Echelon(s): AR/SMG (x2), Dummy
Objective 1 Strategy#
For this first objective, you're tasked with moving the hostage from your Command Center over to the top right of the map. You'll have to defend the Heliport there from ELID while moving through the contamination zone with your other echelon. The run there isn't too bad, but you have multiple things you need to look out for.
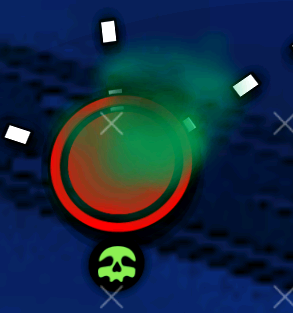
First, you have contamination zones strewn about that will cut your echelon's HP by a % if they end a turn on those nodes. They'll be marked with a green skull and have gas floating above it like so:
Secondly, you have large ELID bosses, Smashers, roaming around the map. They're giant meat puppets of HP, but you should most likely avoid them unless you know what you're doing. Additionally, there's a Smasher in the area on the top right with the exit Heliport, which you can use to farm boxes. This one isn't as hard as the others and it doesn't move.
So, with all that in mind, what's the play?
First of all, we need to make sure our Command Center doesn't immediately get surrounded. So use the first turn to deploy a dummy for the extra AP and to get one of the closed Heliports on the top right for even more AP. You also have the option of killing the Smasher on the top right so you gain control of the Cyclops on all of the Radars. If you choose to do this, you'll get a bit more vision to keep track of all of the other Smashers on the map. This isn't needed, but it can be nice.
From here, you'll be mostly rushing through the mess of zombies to get to the top right. If you didn't get the Radar Towers through the Cyclopses, be sure to grab one to make sure you're not walking into death. It'll also help you plan your route to safety. Depending on boss movement, you may have to take different routes to what I did, so use your own discretion and you'll be able to get to the Heliport for extraction.
Objective 2 Strategy#
Rescue AN-94 so your Command Center doesn't get captured then spam end turn on that node. Nothing really messes with you there, so you should be fine.
Videos of me clearing this map
Objective 1:
Objective 2:
Author: Kazuki
Tags: continuum turbulence