


Illusory Peace I EX
Objective: Elimination
Recommended Echelon(s): RF/HG (x2), AR/SMG, Dummy, HOC (BGM-71)
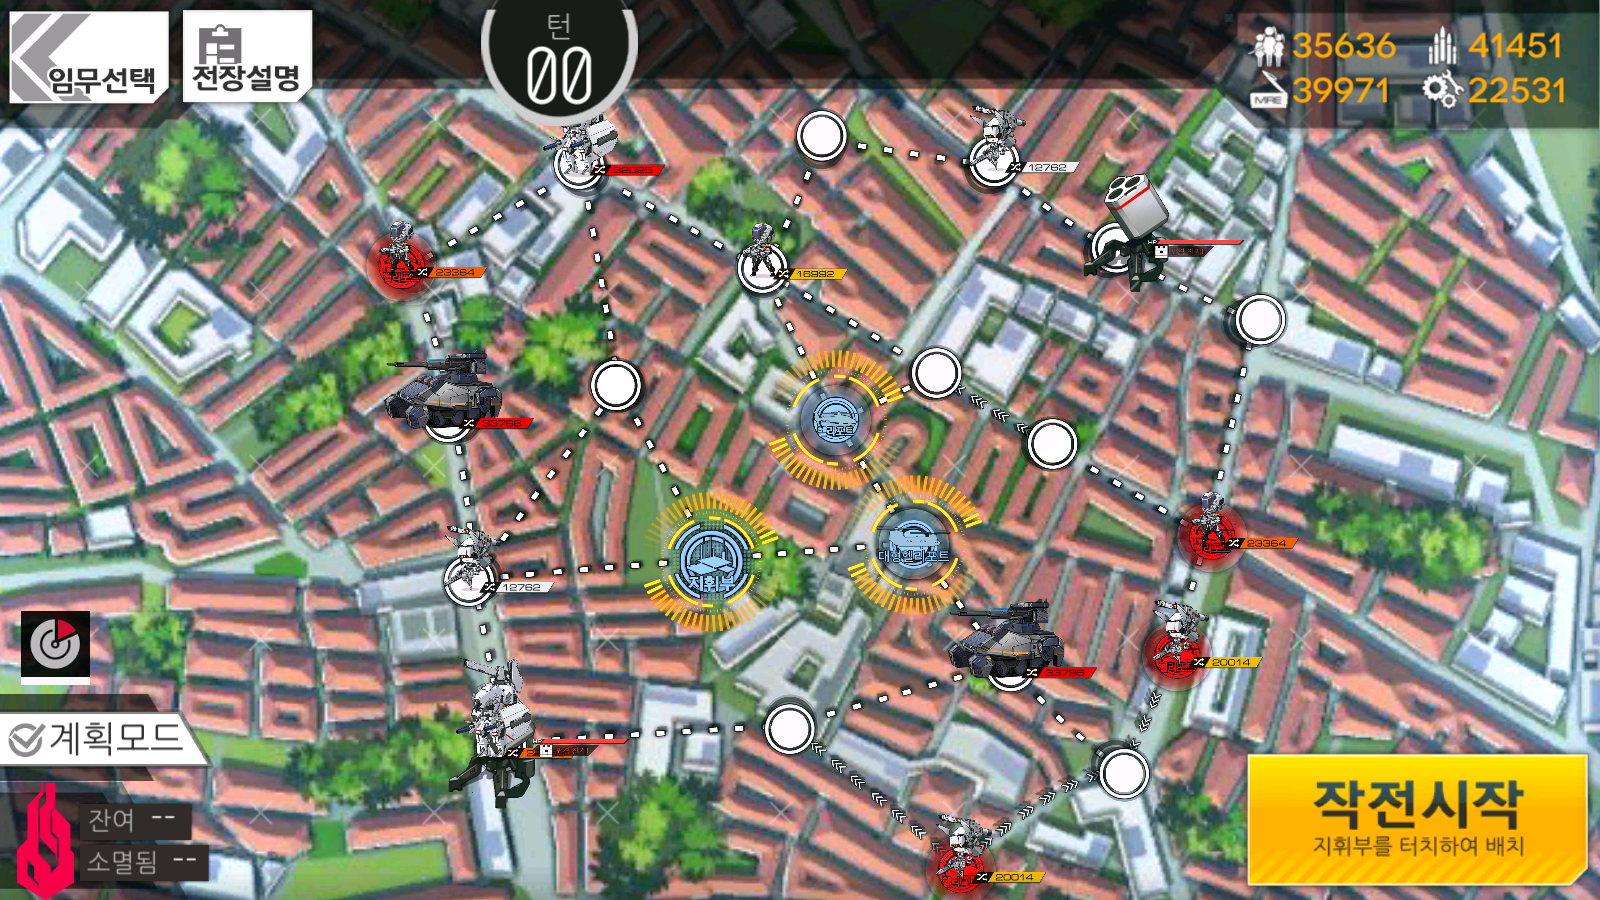
Before you begin the map, deploy BGM-71 (referred to as "BGM" in the future) on the lower right Heliport, then deploy your two RFHG echelons on the top Heliport and your Command Center. The RFHG on the top Heliport should have a Taunt Fairy for use later on.
Swap BGM with your left RFHG echelon and destroy the lower left artillery the Doppel is sitting on, then swap back, resupply, and swap with your top RFHG echelon. Move your RFHG that is now on the lower right Heliport down one node into the Uhlan with support from BGM. Deploy your ARSMG echelon on the lower right Heliport that your RFHG echelon left behind, then swap the ARSMG echelon with BGM, bringing it back to where it initially was and moving the ARSMG echelon up. Now swap your bottom right RFHG echelon that just killed the Uhlan with BGM, and now your RFHG echelon should be in the center with BGM below it. Move your left RFHG echelon into the Rodelero and then down to the Doppel, which is standing on the now non-functional artillery. The Rodelero should be doable with no HOC, and BGM should be in range for the Doppel. Swap your bottom right RFHG echelon with BGM, bringing BGM back into the middle and moving your RFHG echelon down. Now move the RFHG echelon down one more time, and it should end up on the node between the two opposing one-way paths on either side. Now move your left RFHG echelon one space to the right of the destroyed artillery so you can surround capture the Heliport with two one-way paths coming out of it. End turn, and kill any Rodeleros that move onto you with whatever RFHG echelon it attacks.
On your second turn, resupply BGM, then move your left RFHG echelon left one node and up one node to fight the Uhlan to the left of your Command Center. It should be covered by BGM's range. Now deploy your HG dummy echelon on the empty Command Center, and swap it with the RFHG echelon on the left. Resupply the RFHG echelon on your Command Center, then swap with the dummy echelon again to bring the dummy back to your Command Center and so your RFHG ends up back on the left side. Now move the left RFHG echelon up two nodes into the Strelet echelon on the Heliport in the top left corner. Move your bottom right RFHG echelon up one space towards BGM, and select BGM and turn the fire support option OFF so it does not fire on spaces next to it where it is not needed. Now move your ARSMG echelon east into the Strelet echelon. Move BGM north so that it ends up to the left of your ARSMG echelon and end turn. Kill anything that moves into your echelons.
On your third turn, move your RFHG echelon which should be in the upper left corner to the right one space into the Doppel, and then right one space into the Rodelero. It should be doable without your HOC. Now move the same RFHG echelon northeast one space, and east three spaces, destroying the artillery along the way, and ending up on the space with the Doppel in the upper right corner. This should also be doable with no HOC. Now select your other RFHG echelon, and turn on the Taunt skill from its fairy, then move onto the Doppel, which should be the only enemy left on the map. Once that's dead, you should be done.
Video of me clearing this map
Author: Kazuki
Tags: Isomer