


Lost Bargaining Chip I
Objective: Establish and maintain a supply line for 4 turns
Recommended Echelon(s): AR/SMG (x2), Dummy (x2)
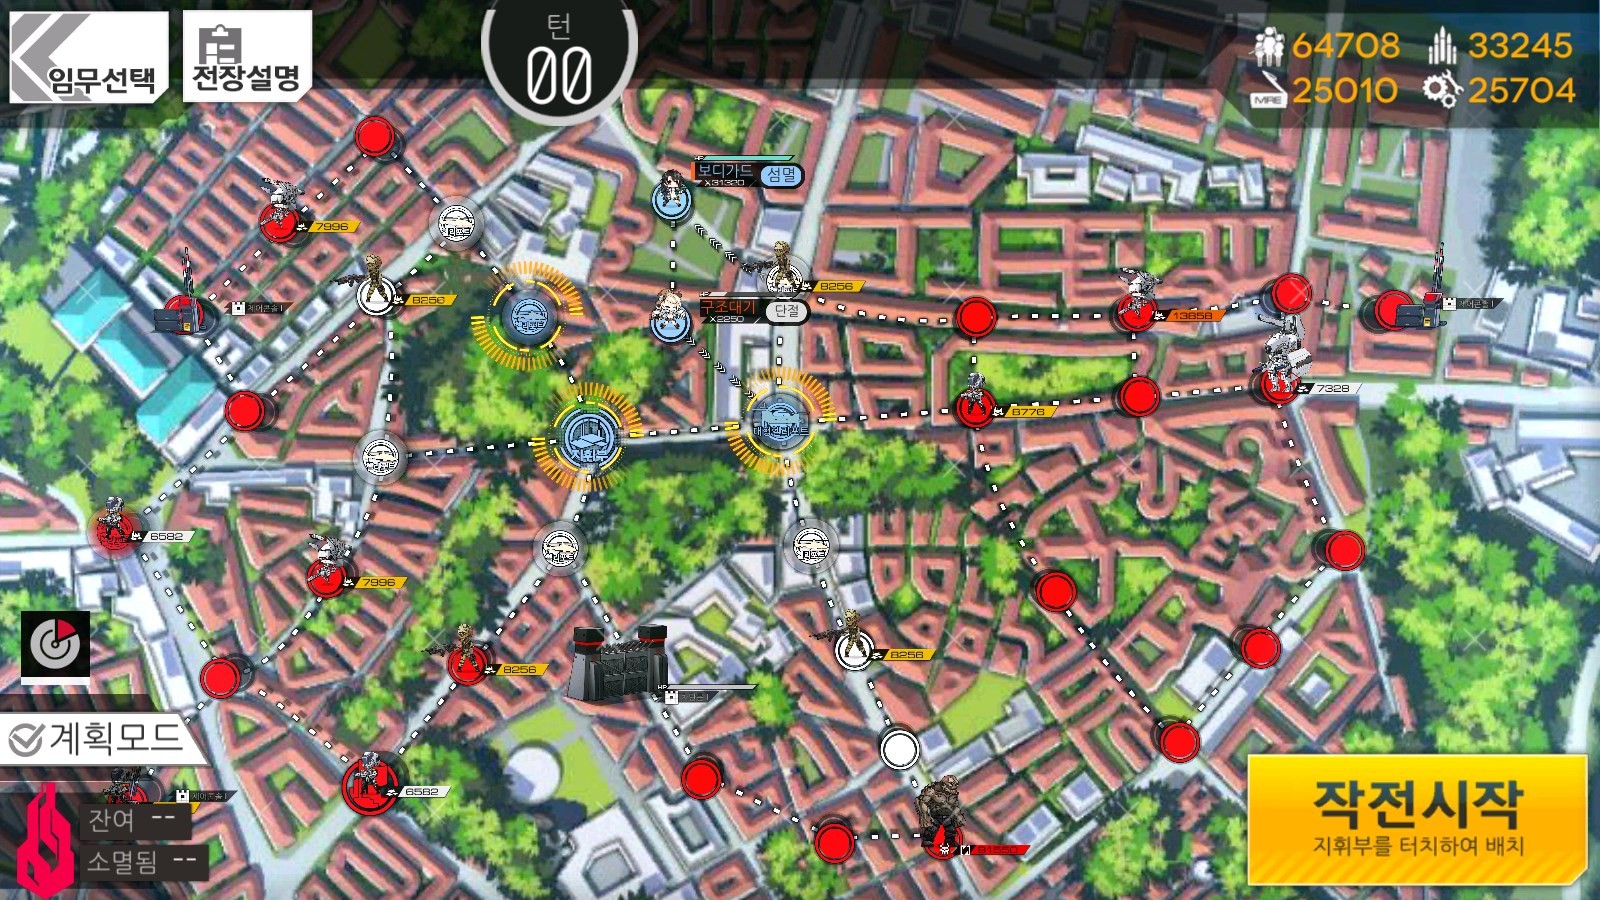
For this map, we need to establish a supply line; however, a boss will come in and wreck it before we can hold it for the number of turns required. On normal, we will need to use a console to close the gates before the boss can come and eat us. Fortunately, we don't need to use all of the consoles, just one. The one on the right side of the map is what triggers the gate to close, so we only need to go and use that one.
To start us off, we want to deploy two combat echelons and a dummy echelon. The dummy echelon can go on the Command Center, while the combat echelons can go on the Heliports. Our goal for turn one is to clear out some of the enemies that are immediately near our Command Center/Heliports. On the right Heavy Heliport, use a combat echelon to kill the zombie directly above it. Deploy a dummy echelon from the Heavy Heliport and swap your combat echelon back onto it. This dummy echelon is what will go out to use the console. On the left side of the map, use your combat echelon to go up one node, take out the zombie to the left of that node, then down one node to the Heliport. This will prevent us from losing some Heliports which would give us some issues later.
On turn two, we can start establishing the supply line as well as close the gate. Your dummy should have a clear shot to the console, so head over there and use it to shut the gate. We can now use the remaining AP to start establishing the supply line and to clear out an enemy coming in. Swap your combat echelon on the left with your dummy so you can take out the zombie sitting on the Heliport below your Command Center, then move your dummy back to the Command Center. You can use it to swap with so you can start building the supply line while using your combat echelon to sit on a Heliport north of your starting Heliport to take out a Rodelero that's starting to come in your direction. You can use your last AP to get the Heliport below your starting Heavy Heliport to add to your AP later on, but it's optional.
Turn three will have you finish the supply line. Make sure you're defending your Heavy Heliport on the right then move your combat echelon on the left down to the Rally Node. Go through the line of enemies that are starting to come up from the Rally Node area so they don't bother you later, and take out the last Strelet down there so your dummy is safe to help finish the supply line.
At this point you're just cleaning up any stray enemies you might have to defend against. Once turn five rolls around, one of the friendly echelons will turn into a Nyto and will chase you. So if you have anything nearby, move them away. Keep up the defense and the map should be pretty much done.
Video of me clearing this map
Note: In the video I pull out BGM-71 on turn 3, but this is entirely optional. It may help if you're not doing enough damage due to distortion barriers or something.
Author: Kazuki
Tags: Isomer