


Chapter 7 Night
Intro#
You know what's really fun? Scouts at night. That's this chapter, its worse than Chapter 6. It's not entirely that, but hey, that's what makes me hate this the most. Bonus points for also including Dreamer in this mess. That's also a great time. So I hope you've readied some Molotovs and a little bit of micro for this.
Bitching aside, this is where you'll be picking up MG3's infinite(not actually infinite) ammo box. While hilarious, it doesn't salvage her from her status as very eh.
As for actually clearing this, rocking at least three echelons is highly recommended for clearing this, although 4 works best. You'll want to have AT LEAST one echelon that has armour pen, either an RF or MG. Ideally you'll have two, but you can make it work with just one. You'll definitely want two AR echelons, however, to deal with the first two maps as they're entirely composed of unarmoured enemies.
7-1#
Map objective: Elimination. 6 enemies on the map.
Turn Limit: 4
Ecehelon Limit: 2
Enemy Composition: All unarmoured.
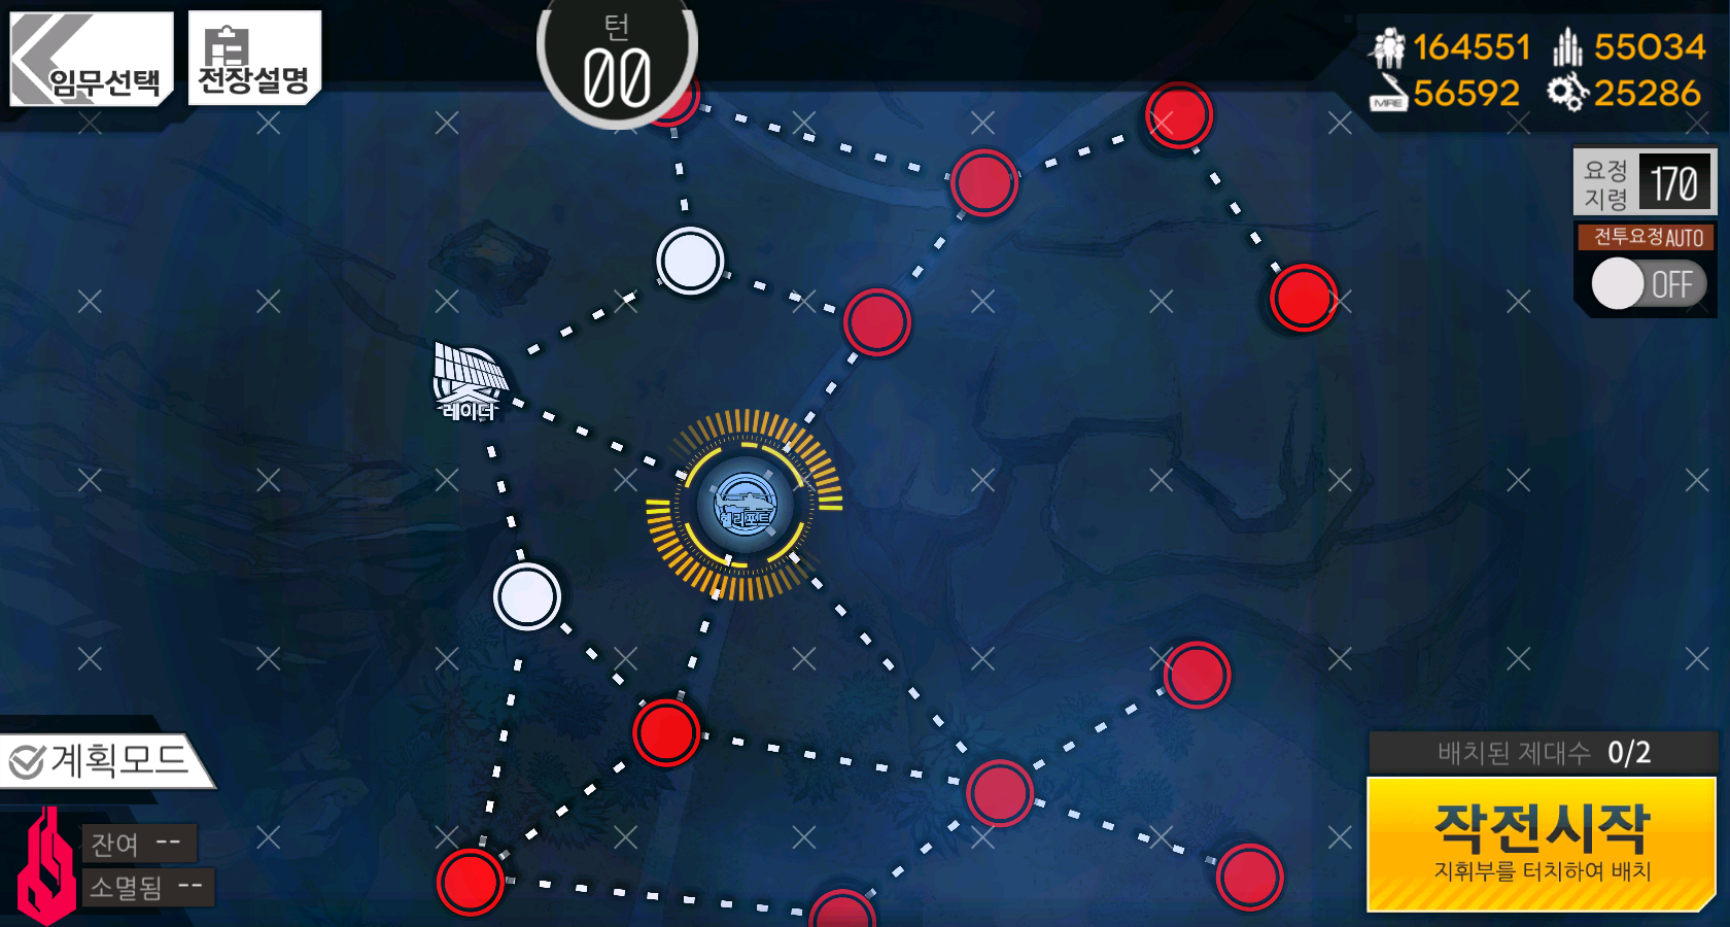
This map is pretty simple, but you can easily mess it up. The idea is that the map is split into two sides, where enemies are randomly scattered about the Sangvis taken nodes. You have two echelons to work with, and you need to divide up clearing the enemies. Each side usually has 3 enemies, so it's not an overwhelming number to deal with.
Since the enemies aren't set spawns, you'll have to adjust your strategy on a per case basis. There are some ways to make it easier. Like for example, on the bottom half of the map, there's likely to be an enemy or two on these
nodes to the south of your starting heliport. Because of this, you can block them in by standing on the only node they can move to. This saves you AP and lets you clear out the top half of the map easier if need be.
The top half of the map is similar, but usually there's at least a few enemies wandering around outside of the one way path up there. However, movement up there is also much easier to see, so you can adjust quite easily there. Aside from that, really just pay attention to any nodes that do get taken near your heliport. They'll let you know if anything spawned outside of your vision.
Video of me doing this map
7-2#
Map objective: Elimination.10 enemies on the map.
Turn Limit: 6
Ecehelon Limit: 3
Enemy Composition: Entirely unarmoured.
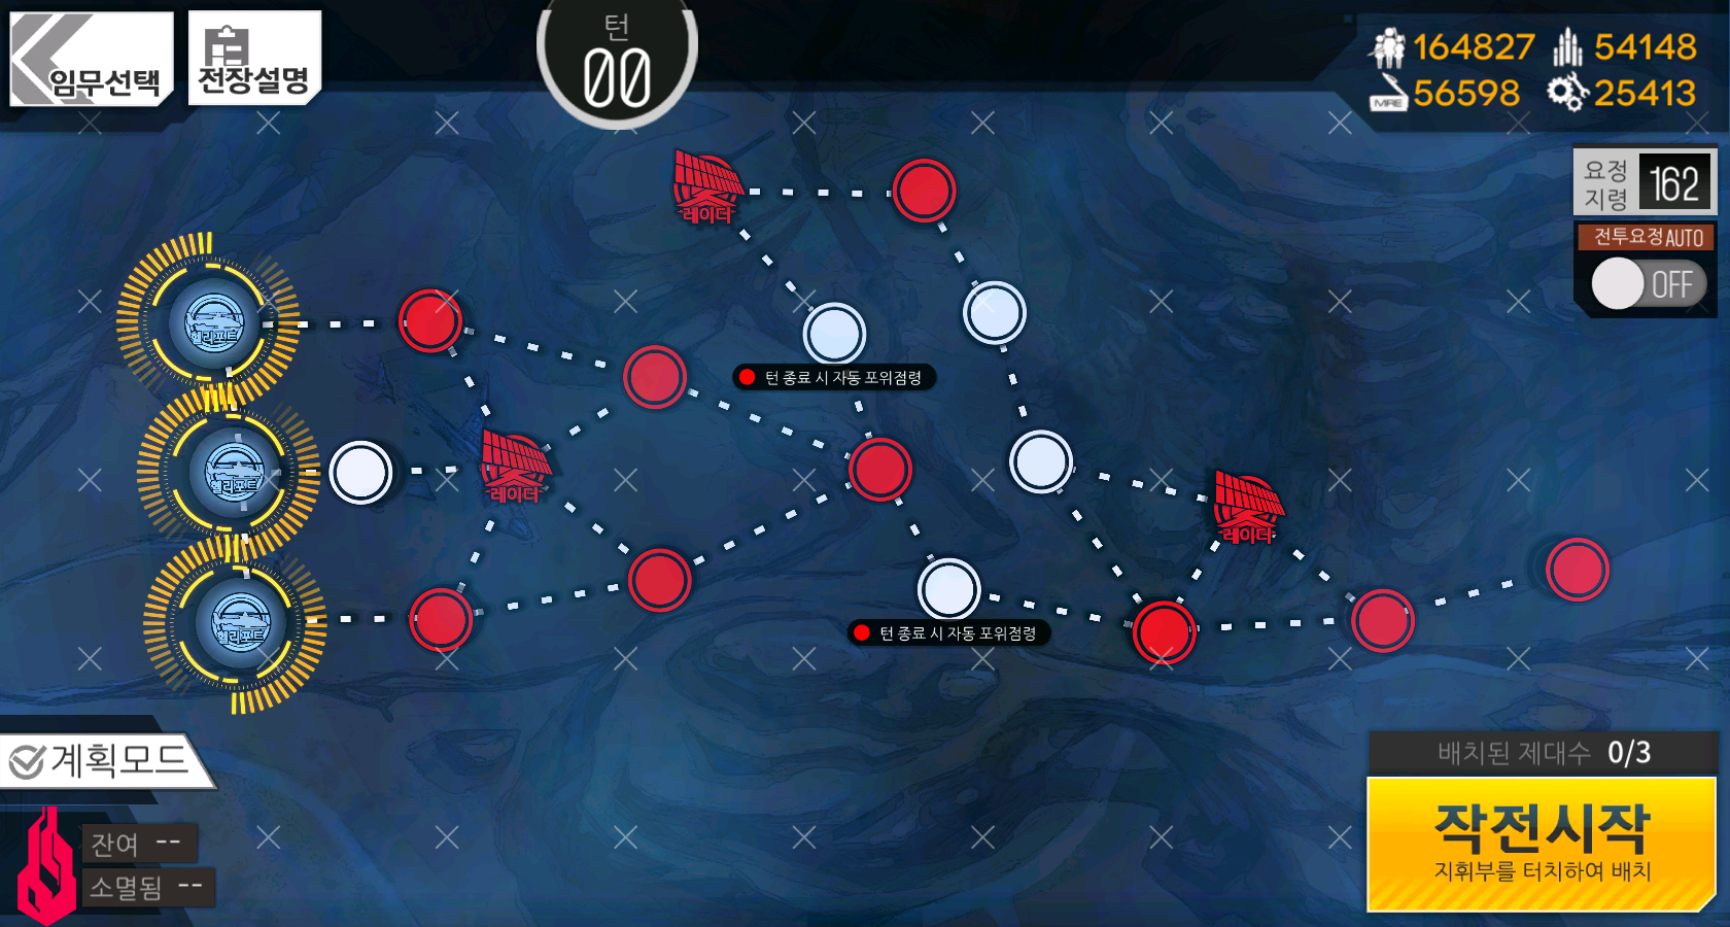
This map's pretty nice by allowing you to deploy all three of your echelons from the start, giving you maximum AP without having to mess around. It's also pretty nice because it's just a left to right sweep. No real strategy required. The only thing you need to be aware of is your ammo management, just balance out how much each echelon is fighting and you should be fine.
Video of me doing the map
7-3#
Map objective: Elimination. 16 enemies on the map.
Turn Limit: 7
Ecehelon Limit: 4
Enemy Composition: Mixed armoured an unarmoured.
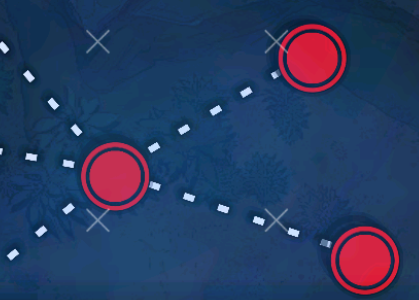
This is your typical "enemies are everywhere on this big map" elimination map. Each of the Sangvis taken nodes represents one enemy, so they're all over the place. Most of the ones not near your starting heliport will likely cluster around the other three corners of the map. You can do this with three echelons going down through each venue(bottom, middle, top) you can to the bottom right side of the map. Sortof like this:
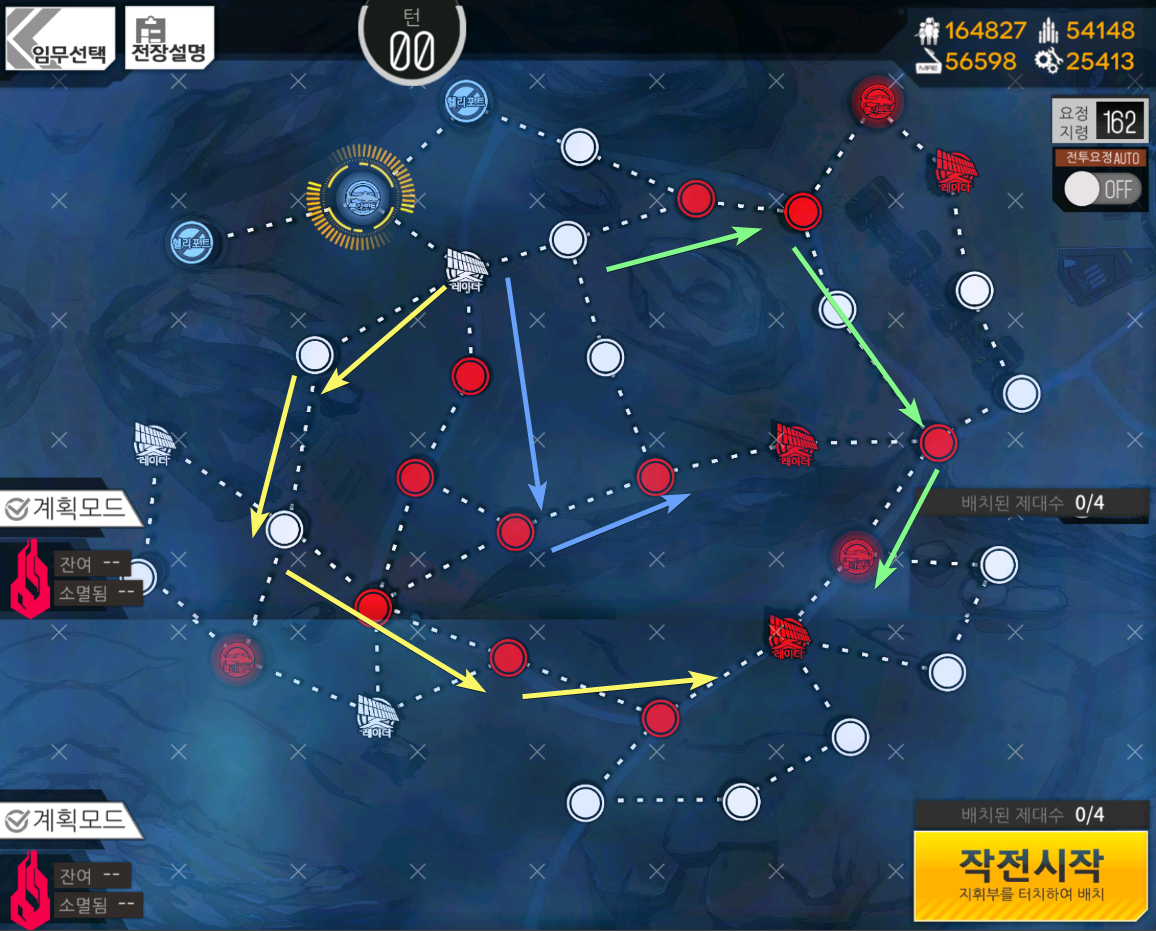
Which each coloured arrow being a "route" through the map. You should be able to snag most of the enemies like that.
You should focus on the yellow route first, then green, and lastly blue. Taking the heliports near the yellow and green routes are highly recommended for the AP and resupply points.
There's one oddity here, for some reason the Tarantula echelon in the middle of the map has aggro mechanics. Literally the only thing that does. I won't bother explaining it here since it...really doesn't matter for this map.
Video of me doing the map
7-4#
Map objective: Defeat the Boss. The boss for this chapter is Dreamer.
Turn Limit: 8
Echelon Limit: 4
Enemy Composition: Entirely armoured except for Dreamer.
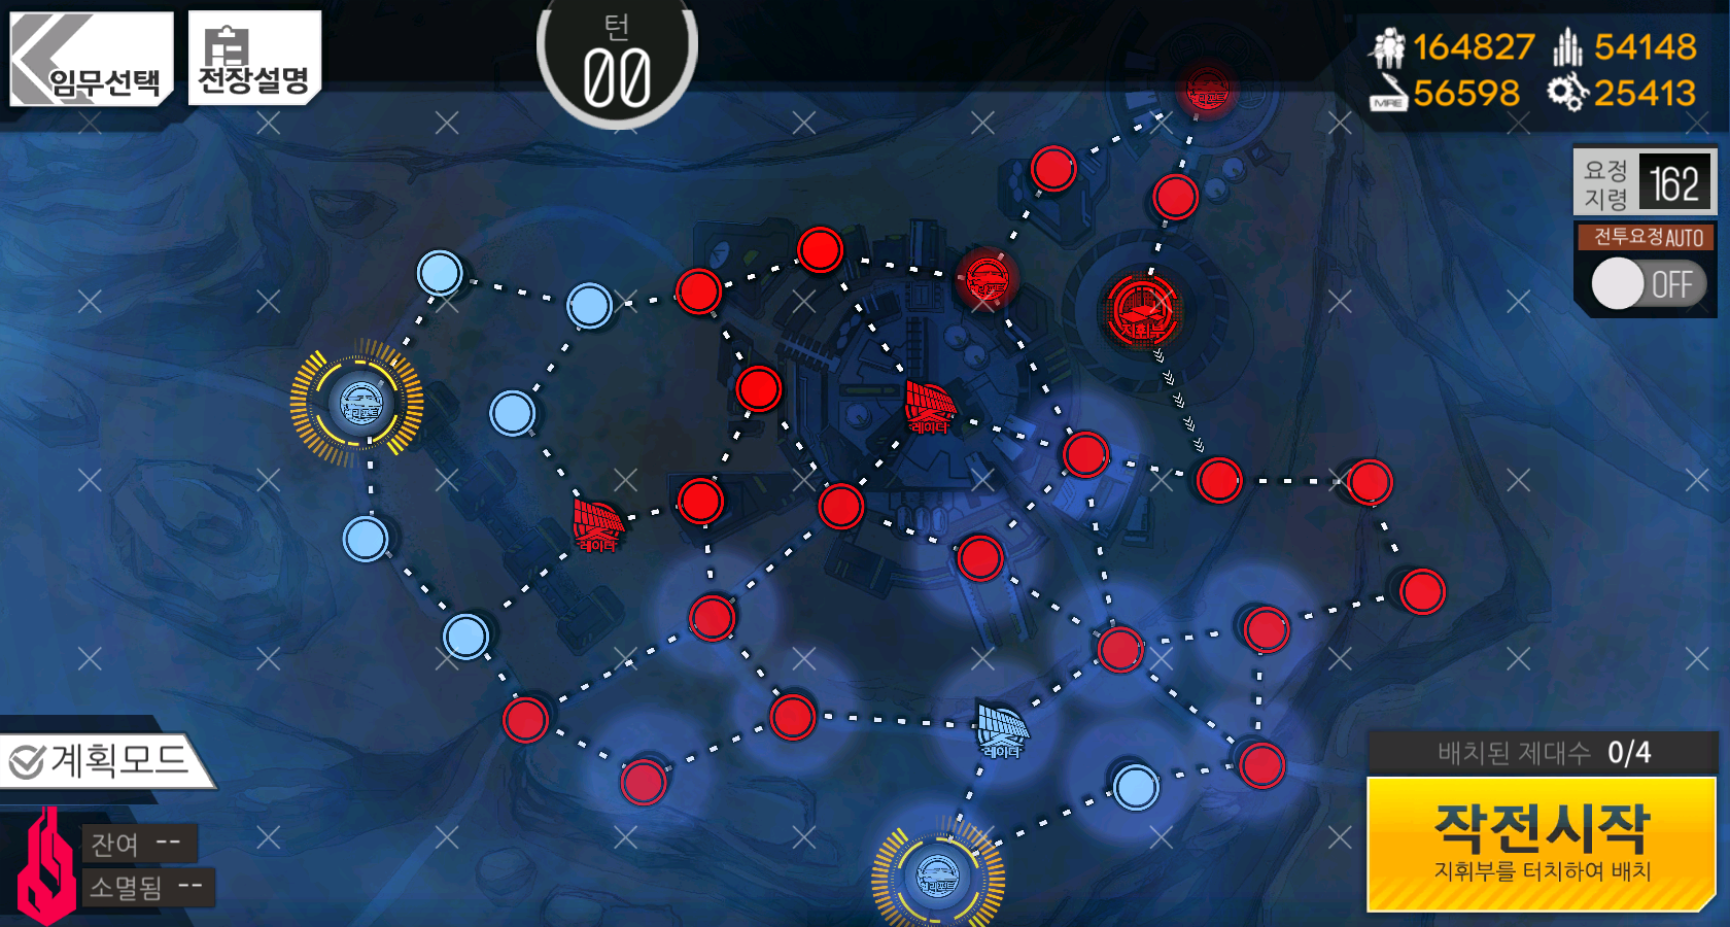
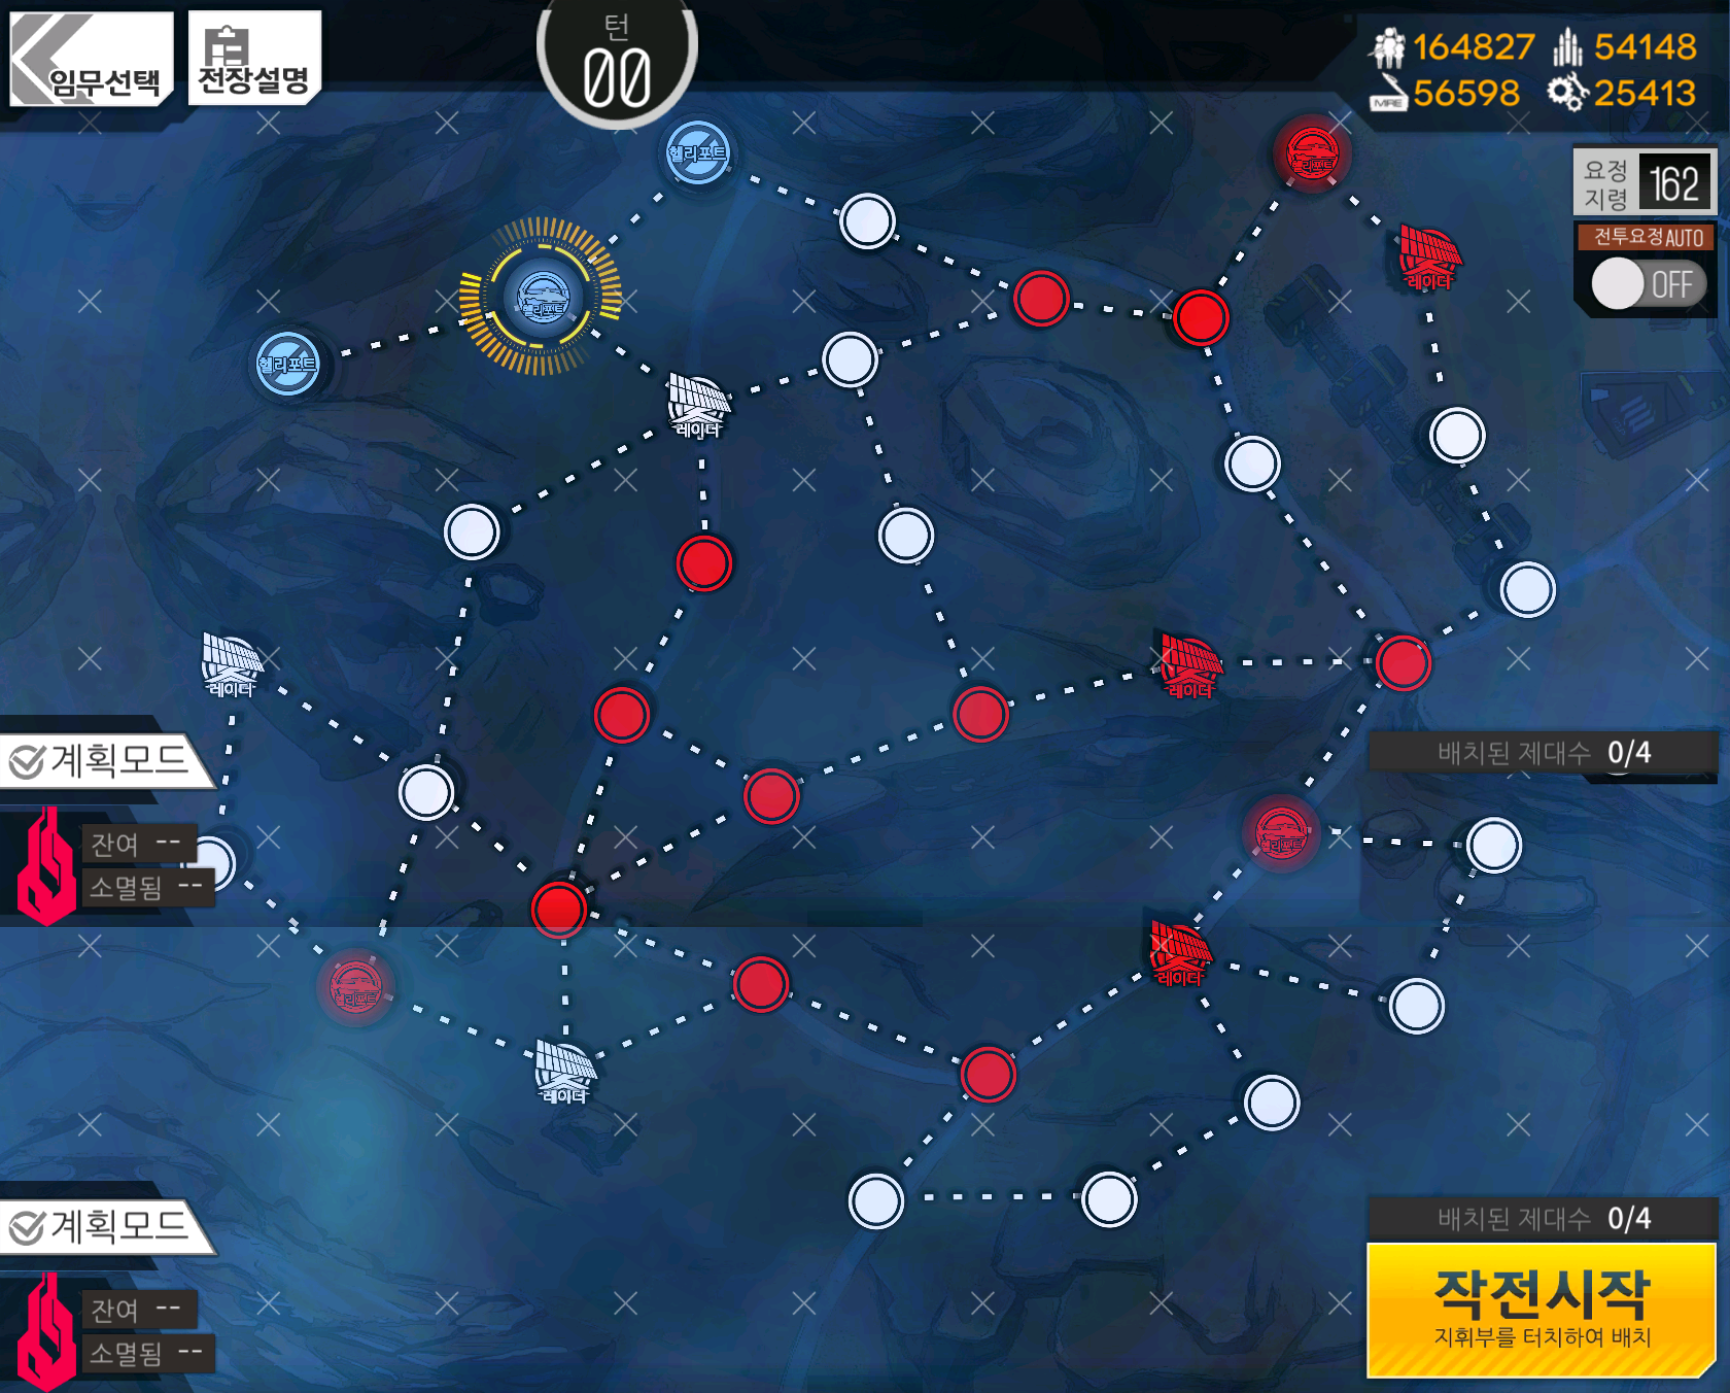
While the map is pretty big, since the only objective of the map is to kill the boss, it's quite simple. Dreamer doesn't have an RNG spawn location, as she's always on the enemy Command Center. This basically makes the middle and bottom parts of the map completely irrelevant to clearing it. There's only one way into the enemy Command Center, so that limits your movement options even more. Unfortunately, you can't just make a mad dash for it, since there's usually more than 5 enemies guarding the way to it. Thus you need to either take a heliport, or bring two echelons to clear out all of the enemies. If you're taking a heliport...well that'll also need two echelons, so you may as well just use one to clear the way to Dreamer.
I recommend focusing your movement from the top side heliport, as it gives less opportunities for enemies to harass you. Going through the bottom one has you slog through the middle of most of the enemies on the map. It is, however, harder to defend. Although that really doesn't mean much when you're only in the map for a few turns.
Turn 1 should be deploying your other two echelons, then two and three should be spent getting to Dreamer. I dunno, it's pretty straightforward. The only surprise is a Tarantula echelon on the way there, and if you're using an airstrike or MG echelon, it shouldn't bother you much.
Dreamer herself isn't any different from her 8-4E incarnation, just that you're fighting her at night now. Wow so different. You'll want to use an AR echelon to kill her, as per usual with night bosses.
As for a farm route...Well, Dreamer's the only thing that drops MG3's ammo box, so you're essentially just doing a standard clear for farming.
Video of me doing this map
Author: Kazuki
Tags: Chapter Overview Night Battle