


Chapter 8 Night
Intro#
It's the long-awaited night chapter! 8-1n's here and oh boy is it exp season. How 'bout the rest of the maps in the chapter? No? Don't 'care cause who cares about FAMAS? Well....play it for the story I guess. Anyway, Chapter 8's night section isn't too difficult. It has some interesting maps, but most of the others don't do much to make you think. So rejoice for the last "easy" night chapter, 'cause 9 night is gonna come knocking sooner or later...
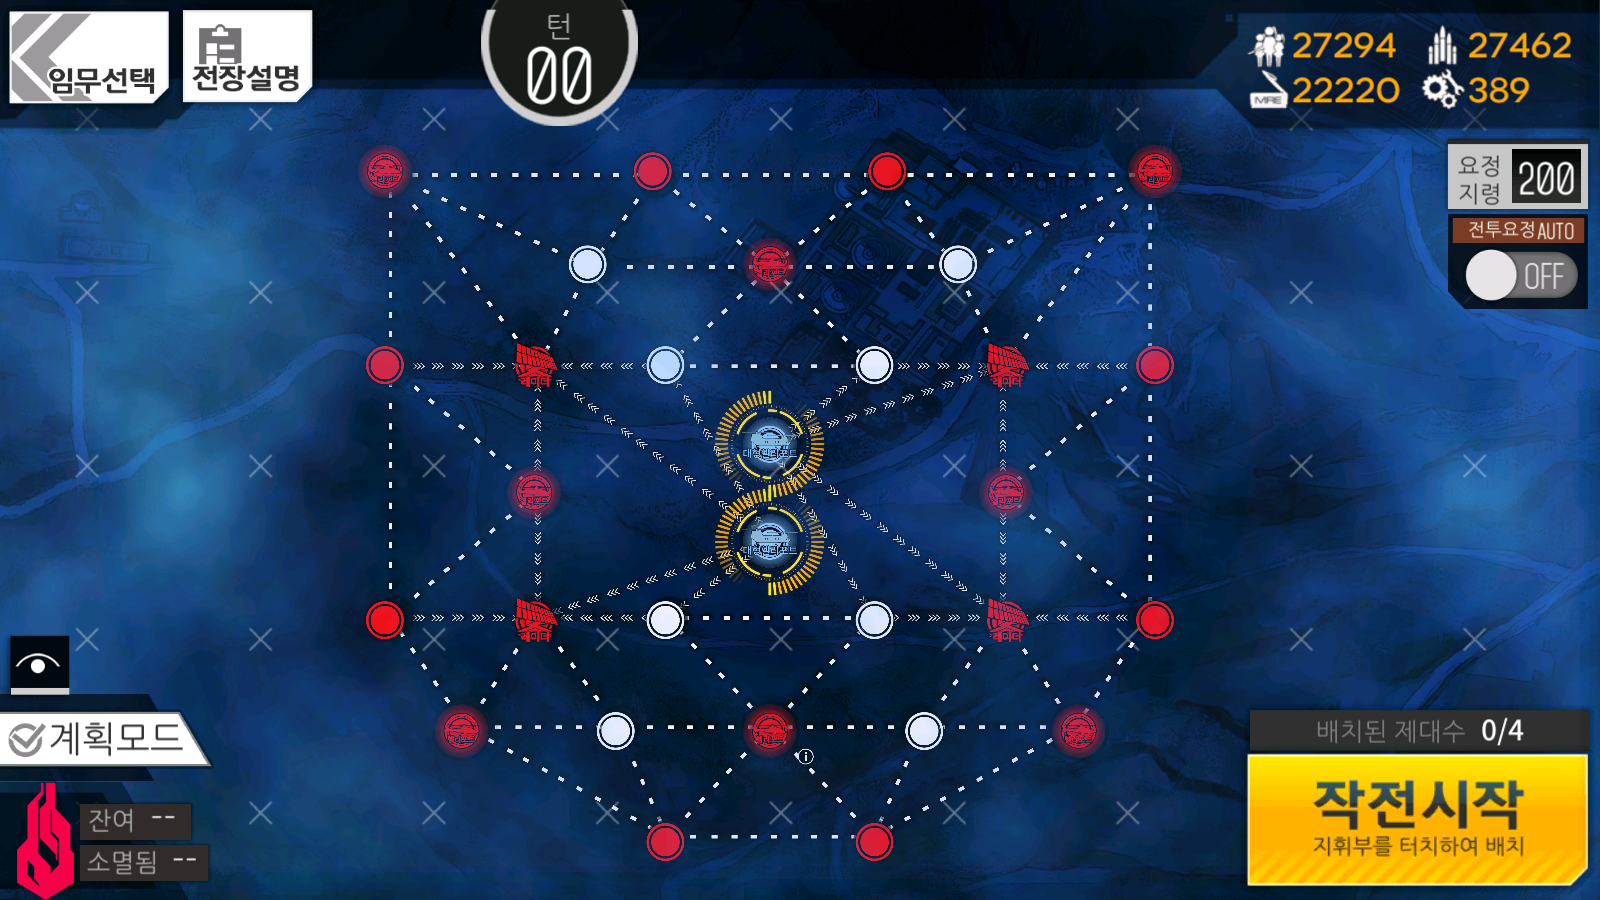
You can clear this entire night chapter with as little as two echelons. However, it can be inconsistent if you do try and do it with two. Three is where I'd be comfortable at, while four makes it a joke.
8-1#
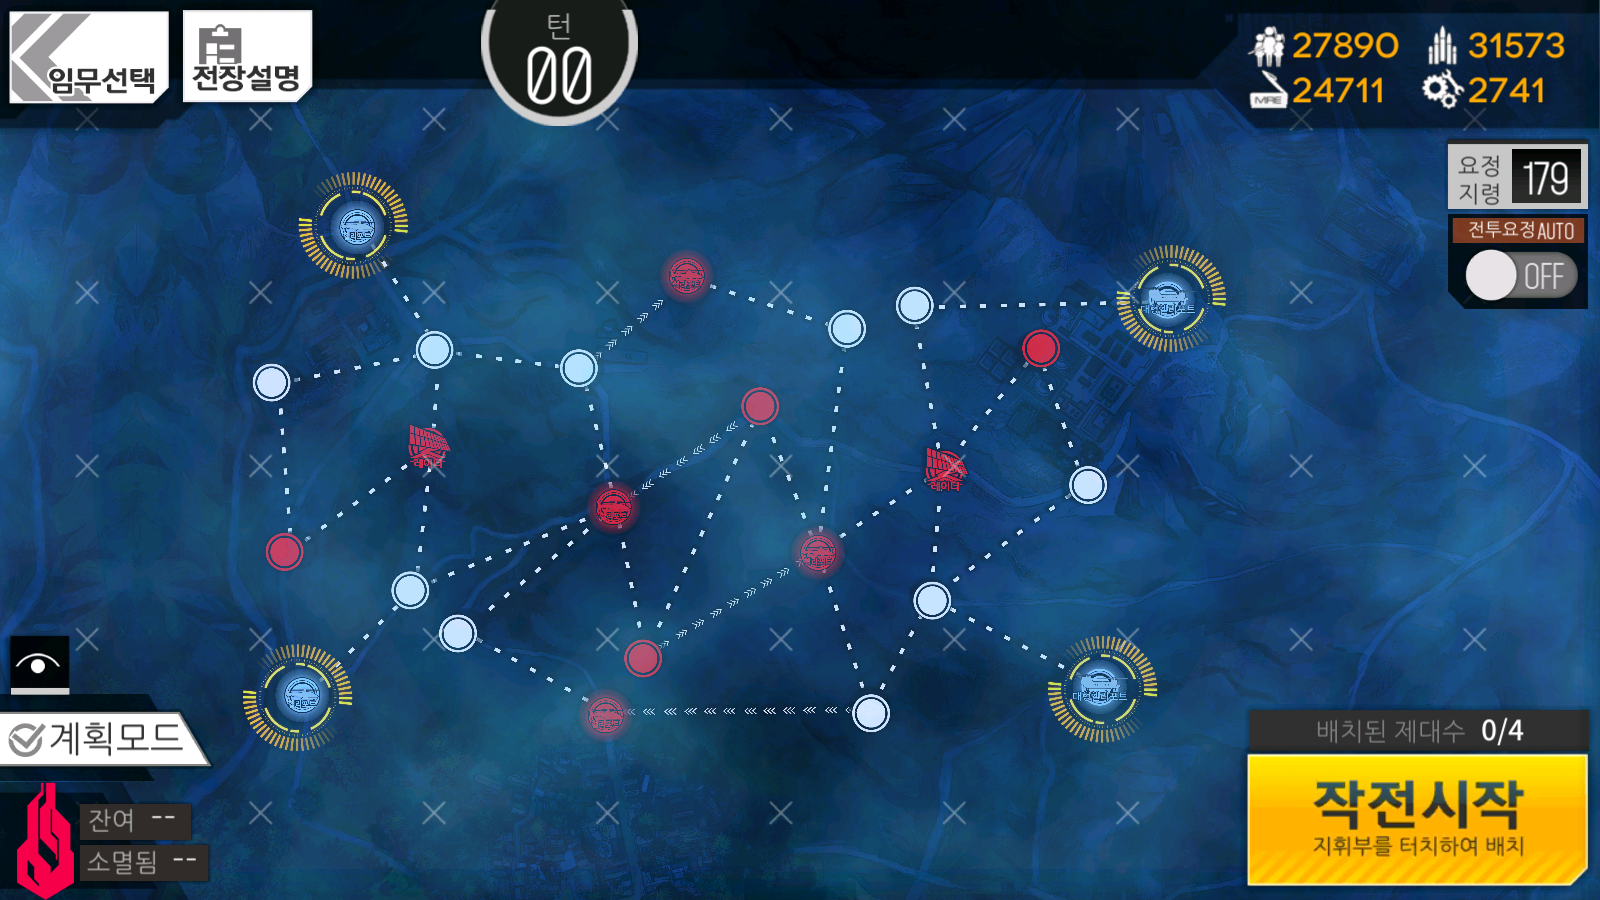
Objective: Elimination (12~14 enemies)
Turn Limit: 1
Echelon Limit: 4
Map Composition: Entirely armoured/no evade
Recommended Echelon(s): MG (x4) for consistency. Minimum: AR/SMG (2x strong echelons), Dummy (x2)
No, you don't actually need four MG echelons. That's the ideal. You can do this map with as little as two echelons. However, it can be inconsistent if you do. The video I use as an example only uses two echelons, one MG one AR/SMG. However, there is a possibility of unwinnable situations arising due to Manticore spawns from the Heliports in the middle of the map. If you're wanting to clear with just AR/SMG, bring crit scopes instead of night vision due to the enemy composition. You don't need the accuracy for the enemies on the map.
Big key to this map is to have more than two echelons in the map to prevent things from going awry. However, I'll talk about doing this with two echelons. With 12 targets minimum to kill you got a lot of work to do in the two turns you have available. Drop your two combat echelons on the bottom two Heliports and put dummy echelons on the other two.
On turn one, you'll want to make sure your two other Heliports aren't in danger. On the left side of the map, clear the set of five enemies on the Zas farm route. This means going from the bottom Heliport, to the Radar Tower, then clear out the two enemies on the side path, then finally killing the last one next to the Heliport your dummy echelon is on. Be sure to resupply your echelon after that. On the right side of the map with your remaining AP, you can only clear straight up to the northern Heavy Heliport. Deploying a friend echelon from the left side Heliport you started on can assist in minimizing any potential RNG in the next turn.
For turn two, you're going to need to clear the last enemy on the right side of the map, then push into the center. Hope you didn't spawn any Manticores, or if you did, hope they moved into places you can reach with the AP you have. Going to the Heliports in the middle of the map should grant you vision of any potential enemies lurking around, so go there and evaluate what to do. Hopefully you can finish the map; if not, bring more echelons next time I guess?
Video of me clearing this map
8-2#
Objective: Elimination (7 enemies)
Turn Limit: 4
Echelon Limit: 4
Map Composition: All unarmoured
Recommended Echelon(s): AR/SMG (x3), Dummy
Ok, this looks bad but it kinda isn't. There aren't too many enemies around, but the main problem is that there's a pretty beefy Jupiter Cannon on that Heliport directly above your two Heavy Heliports. That's going to be your main focus, since it takes quite a few turns to encircle it. No, don't even think about trying to bust it. It's not gonna happen unless you really know what you're doing.
For the first turn, you'll want to have one combat echelon going to the bottom side of the map. There's a few trash enemies down there and some extras can move downwards from the top half. You'll want something down there to kill them. Most of them aren't too strong, but the Golyat can cause some issues. I'm not gonna lie, there may be some sort of trick to make it easier or to despawn it since it has the elite tag, but if there is, I certainly can't read korean to figure it out. From what I saw people just killed it normally and that's what I do as well.
As for the top side, you'll want to slowly capture the nodes around the Jupiter Cannon. There's six of them so you'll want two echelons slowly clearing upwards. If you get lucky you may be able to get away with using one combat echelon and one dummy echelon. Otherwise, just use two combat echelons and slowly capture the nodes. Using a friend echelon can help expedite the process.
Just keep an eye on enemy movement between the top and bottom sections of the map and respond appropriately. If you can, take some Heliports in the bottom half to get a little more AP.
Video of me clearing this map
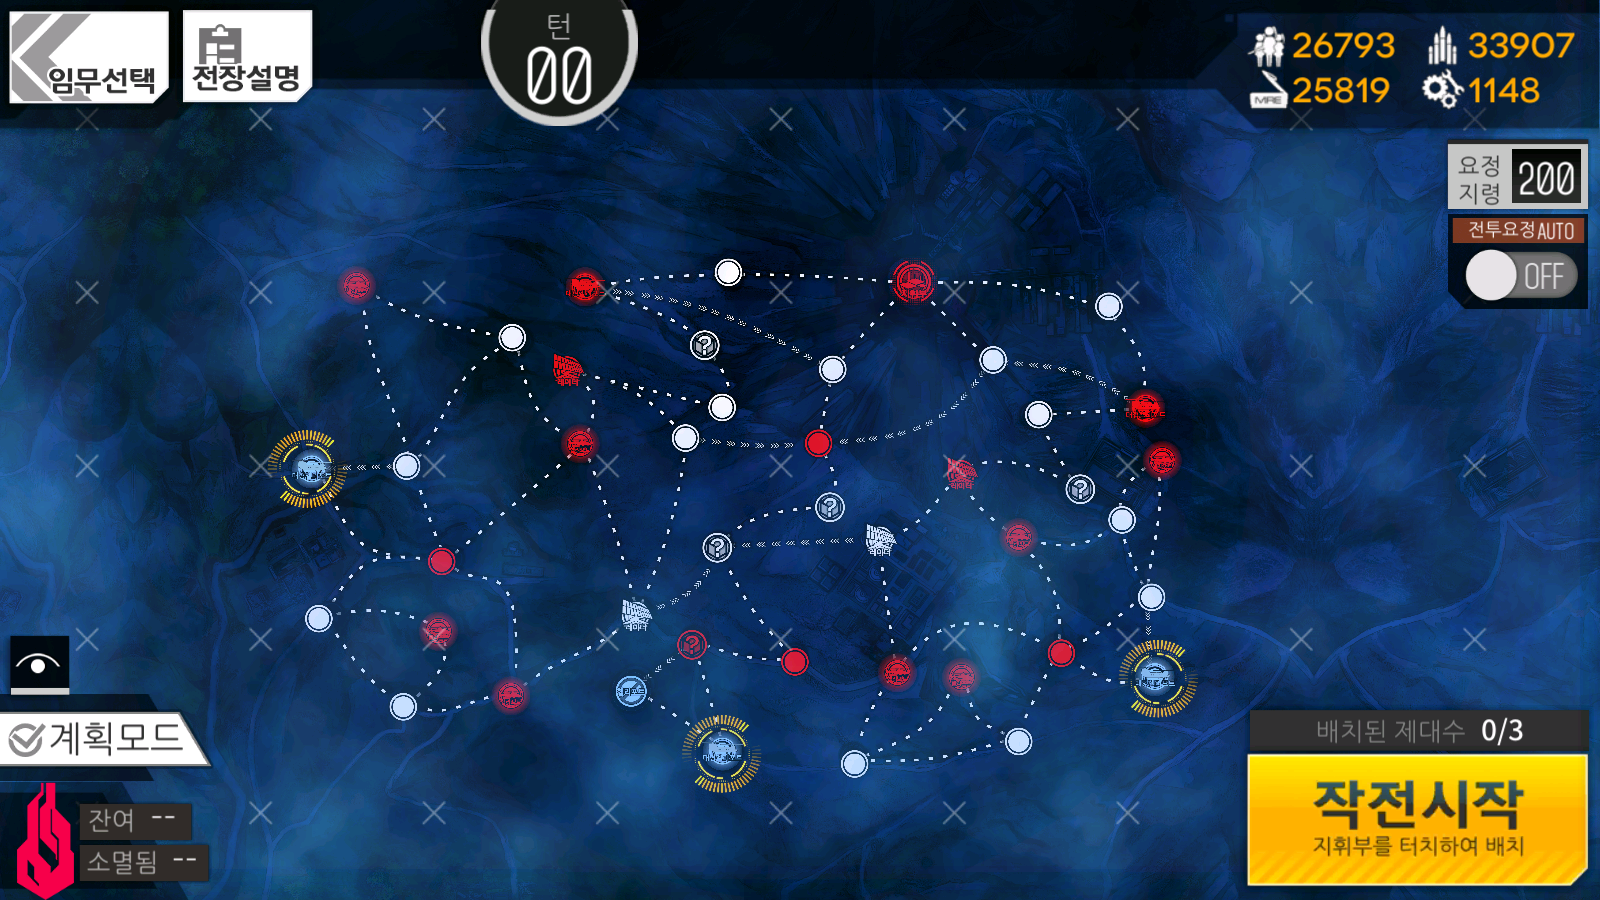
8-3#
Objective: Elimination (12 enemies)
Turn Limit: 3
Echelon Limit: 2
Map Composition: Mixed armoured and unarmoured
Recommended Echelon(s): AR/SMG (x2)
Like previous maps, we want to divide up the map into vertical halves. One echelon will take care of the left side of the map, and the other will take care of the right. The priority is clearing right side, because there's a supply node available there. You're dealing with a limited amount of ammo for this map, and you want to minimize how much fighting the left side does. Preventing enemies from crossing over is the plan.
I suggest using the right Heavy Heliport for the echelon going to the right, since there's more enemies to clear out if you go from that way. Have the echelon from that Heliport grab the north closed Heliport, right next to the resupply node. Then move out your left echelon to take out the enemy next to your starting Heliport.
On turn 2, be sure to use a friend echelon to resupply your echelon on the left side of the map, then move to the closed Heliport that's still up for grabs. With your echelon on the right, mop up the rest of the enemies on the other side of the map. Be sure to resupply at that resupply node as well.
Turn 3 is just cleanup. You should be able to end here, but you do have an extra turn if you still need to track down any leftovers.
Video of me clearing this map
8-4#
Objective: Defeat the map's boss (Dreamer)
Turn Limit: 2
Echelon Limit: 3
Enemy Composition: Mostly unarmored
Recommended Echelon(s): AR/SMG, Dummy (x2)
If you want to S rank the map, replace one of the dummy echelons with another combat echelon, so you don't have to retreat when stuff attacks the left Heliport.
While this map may have more funky curves than a Picasso painting, it's actually quite simple. There's a pretty direct line from you to Dreamer at the enemy Command Center by going through the bottom right Heliport. You get a ton of AP available to rush the Command Center so that's all we're doing, fuck defense. Drop echelons on each of the other Heliports and get your combat echelon on the bottom right Heliport.
Starting from the bottom right, we're going to move up to the Heavy Heliport north of us, right next to the enemy Command Center. However, in between the two, a red Golyat spawns randomly on one of the two red Heliports. You may have to take a detour around it, or it might be completely out of the way. Either scenario is fine, since you should have enough AP to get to the Heavy Heliport no matter which Heliport is occupied.
Then it's just a few nodes to the Command Center and Dreamer. Dreamer herself is just a buff version of her previous incarnations in 8 Emergency and 8 Normal. If you can fight her there, you can fight her here.
Video of me clearing this map
Author: Kazuki
Tags: Chapter Overview Night Battle