


Intangible Sigh I EX
Objective 1: Capture enemy Command Center WHILE destroying designated rubble
Objective 2: Capture enemy Command Center WITHOUT destroying designated rubble
Recommended Echelon(s): AR/SMG (x2), Dummy (x2)
Objective 1
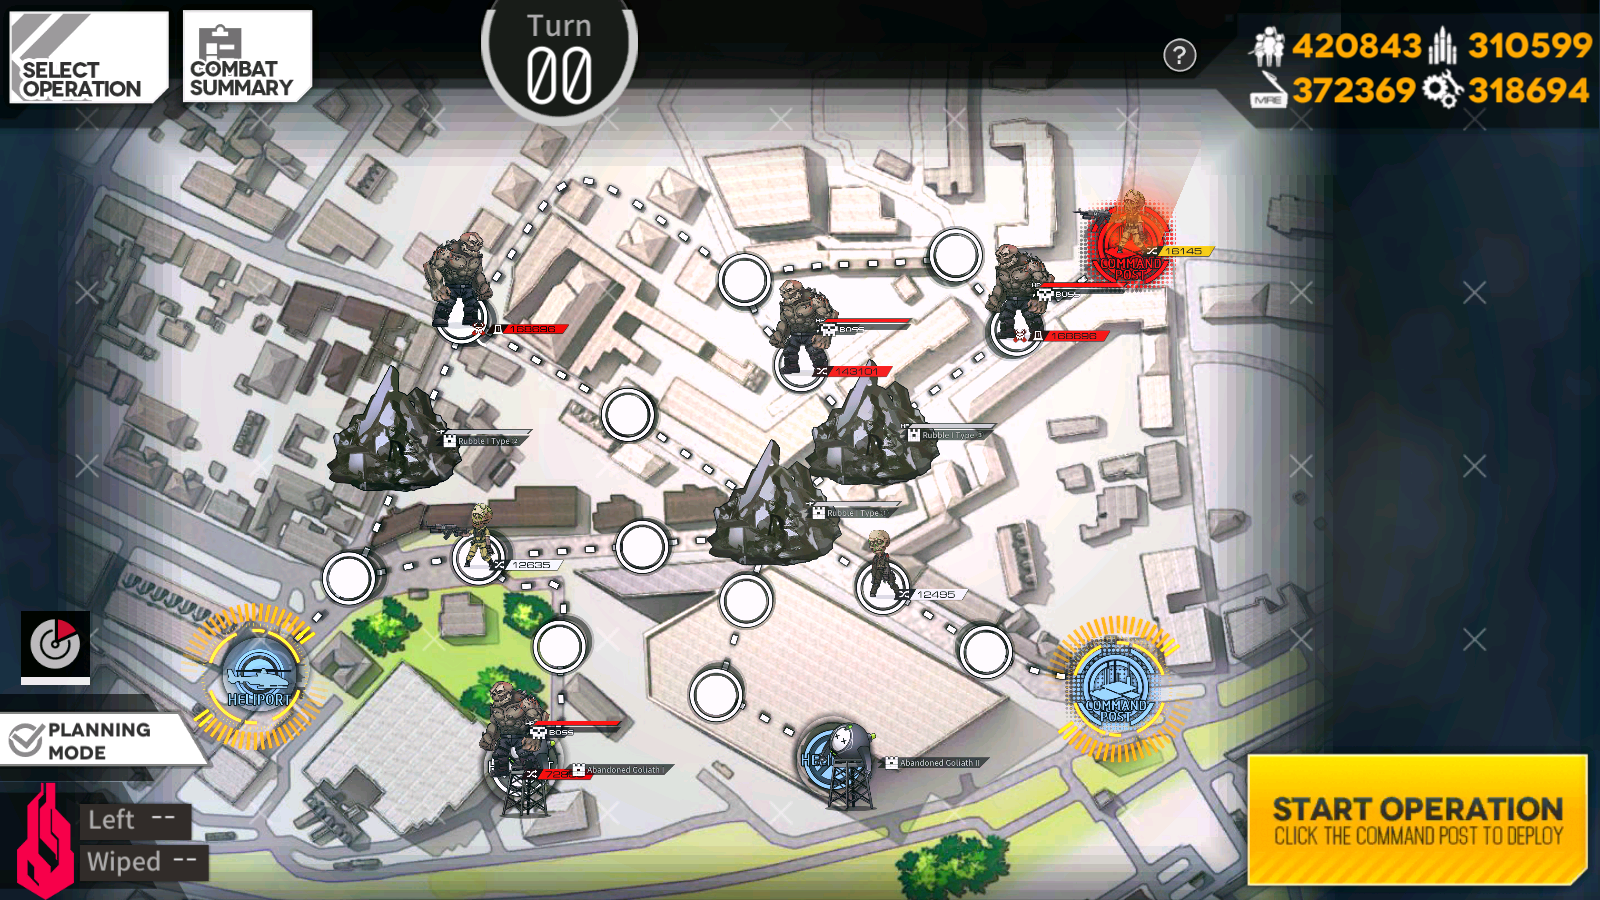
This is the much easier objective of the two to finish, since going through the designated rubble is the fastest way to victory. First few things we need to consider going into the map. We need to protect our Command Center, and we need to use both of the Golyats on the map. So our first priority needs to be protecting our Command Center, and then we need to grab the Golyats.
On turn one, deploy both of your combat echelons. Move the one on your Command Center one node to the left, so we're not in danger of being surrounded. Deploy a dummy echelon on your Command Center afterwards. Now we can focus on getting the bombs for the rubble. Spend the rest of your AP moving your other combat echelon towards the Golyat that is being guarded by a Smasher.
On turn two, kill the Smasher and grab the Golyat. Bring it over to the type one rubble that's blocking our way to the other Golyat and use it to blow up the rubble. Now we can grab the second Golyat. On turn three, do so and bring it back to the designated bit of rubble. However, DO NOT USE THE GOLYAT YET. We need the rubble in the way so the Smasher blocking our way to the enemy Command Center walks off to the left. End your turn near the rubble. On turn four, the Smasher should fuck off and you can swoop in to capture the enemy Command Center to end the map.
Objective 2
This is the same map more or less, but now we need to get really creative with our strategies since the easy path is blocked. We also need some bonus AP to make this work, but the first bits of the opener are quite similar to objective one.
On turn one, deploy both of your combat echelons. Move the one on your Command Center one node to the left, so we're not in danger of being surrounded. Deploy a dummy on your Command Center afterwards. Now we can focus on getting the bombs for the rubble. Spend the rest of your AP moving your other combat echelon towards the Golyat being guarded by a Smasher.
Turn two, kill the Smasher and grab the Golyat. Now for our divergence from objective one. Deploy your second dummy on the Heliport and move it towards your combat echelon. Swap with it and then move your combat echelon to the rubble blocking our way to the second Golyat. However, DO NOT USE THE GOLYAT YET. Doing so will make a Smasher move in a not so helpful way at this moment. On turn three we can bomb it and grab the second Golyat. Grab it and head back to the Heliport we started with so we can resupply.
By the time you get there, it'll be turn four. Resupply and then bomb the type two rubble next to it. Move your echelon up to where the rubble was so it pisses off one of the Smashers and end the turn. Move back one node towards your Heliport and also move the combat echelon you used to defend your Command Center one node to the left. End the turn again. Move the combat echelon on the left side of the map one node to the right and end the turn. Move that echelon down one, so that you're next to the dummy echelon, which should be chilling where you got Golyat number one. End the turn one FINAL time, and now you should have a shot to the enemy Command Center without Smashers stopping you. Make your way there and capture the Command Center, ending the map.
Videos of me clearing this map
Objective 1
Objective 2
Author: Kazuki
Tags: Shattered Connexion