


Nameless Exiles I EX
Objective 1: Defend for five turns and have both defense gates destroyed
Objective 2: Defend for five turns without operating a console
Recommended Echelon(s): AR/SMG (x2), Dummy
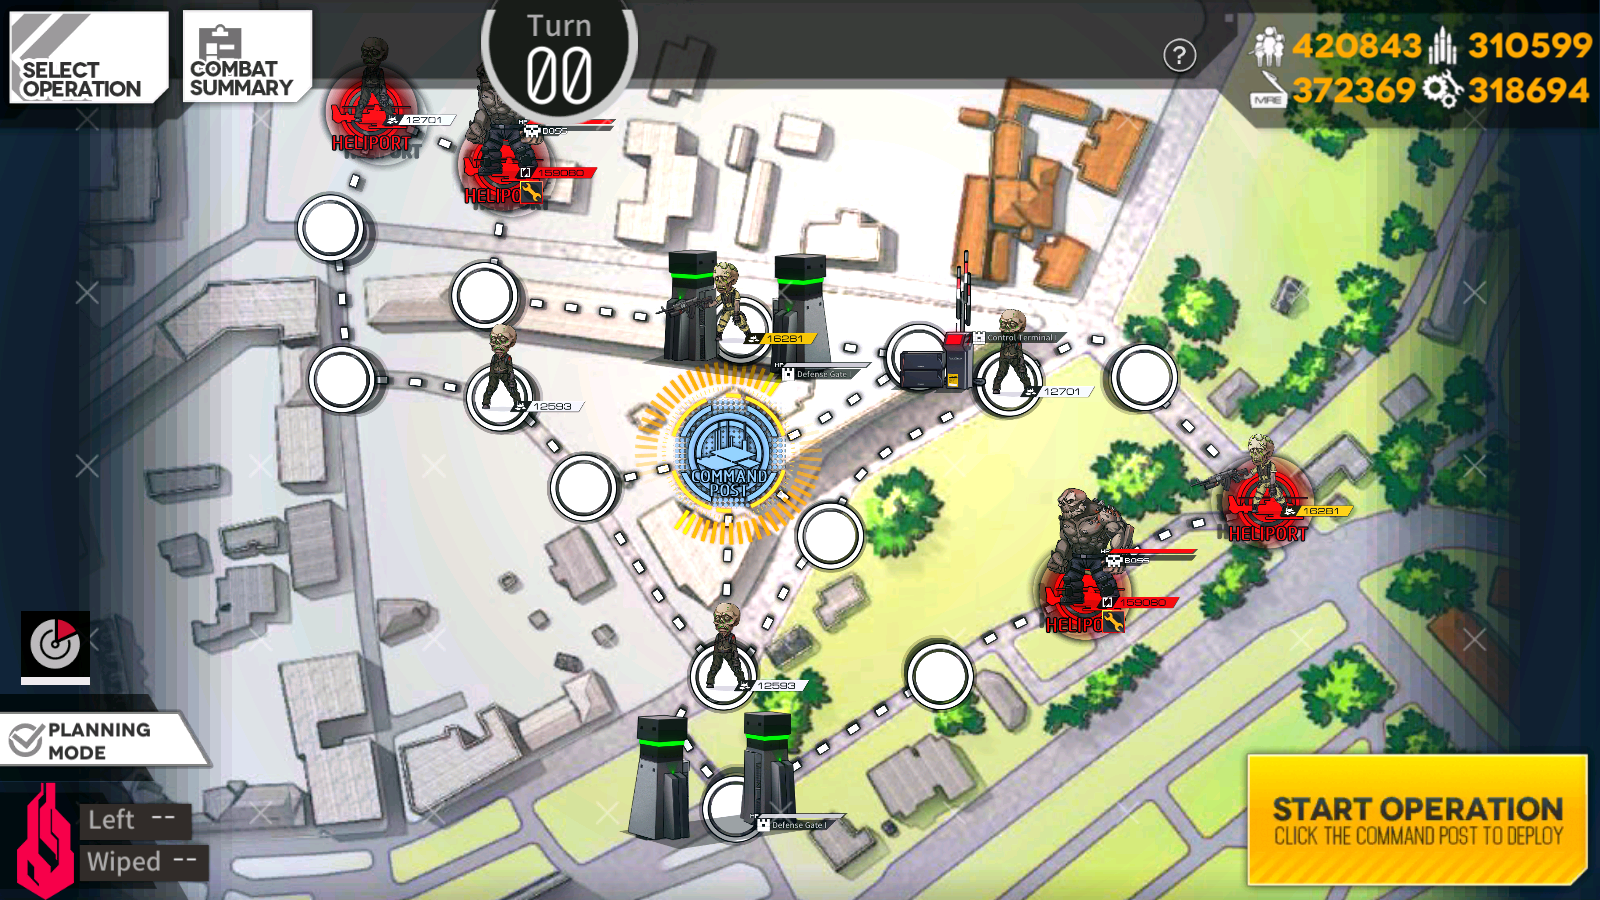
Objective 1
This is the simple objective for this map. You have access to the defense gates here to stall the decently strong Smashers so you don't need to fight them. Because of that, it makes this map a whole lot simpler than objective two.
On turn one, take the echelon you deployed on your Command Center and move to the console, then use the console to close the gates. Deploy your second echelon, and you should be set for the map. You can end the turn until you win, if you want. The echelon on the console will get attacked, but you can just retreat it. Otherwise, the map will end at the start of turn five, just as the Smashers get into position to smash your Command Center.
Objective 2
For objective two, we don't have the defense gates to stall with, so now we have to think of some creative strategies to finish the map without failure. You have two options at this point: bait the Smashers away from your Command Center so you don't lose it, or just kill a Smasher outright. Since the latter option can be a little difficult, I'll focus on the first option.
Our first order of business is clearing out the trash around our Command Center so we have some room to work with when the Smashers come in. Start with the left and right sides of the Command Center, since we'll need a safe zone for a dummy echelon to exist.
On turn one, move a combat echelon to the left side of your Command Center and deploy a second combat echelon. On turn two, move your second echelon to the bottom right node and deploy a dummy echelon. Swap your second combat echelon back to your Command Center so it has protection. Move your first echelon up towards the top left of the map.
For turn three, we'll swap back our second echelon with the dummy echelon, since our Command Center is now safe. Now for some creative strategies. We want to move our first combat echelon all the way to the Smasher coming from the top part of the map. What we're trying to do is have an echelon behind it so we stall out the Smasher by having it move back to attack our echelon. This will take all of turn three and two AP from turn four. So get that goin'.
On turn four, after we've positioned ourselves behind one of the Smashers, we need to bait the second Smasher coming from the bottom of the map away from our Command Center. Thankfully we can set this up easily by having a dummy echelon and our second combat echelon on nodes adjacent to our Command Center. As long as no echelons are on the Command Center, you should be safe. There's only two safe nodes next to the Command Center at this point, so just have your units on those nodes. The Smasher will go for either one of your echelons which should prevent you from having your Command Center captured, and you should be done with the map.
Videos of me clearing this map
Objective 1
Objective 2
Author: Kazuki
Tags: Shattered Connexion