


Subsurface Homecoming II EX
Objective 1: Eliminate all Failed Isomers
Objective 2: Capture enemy Command Center
Recommended Echelon(s): AR/SMG (x2)
Objective 1
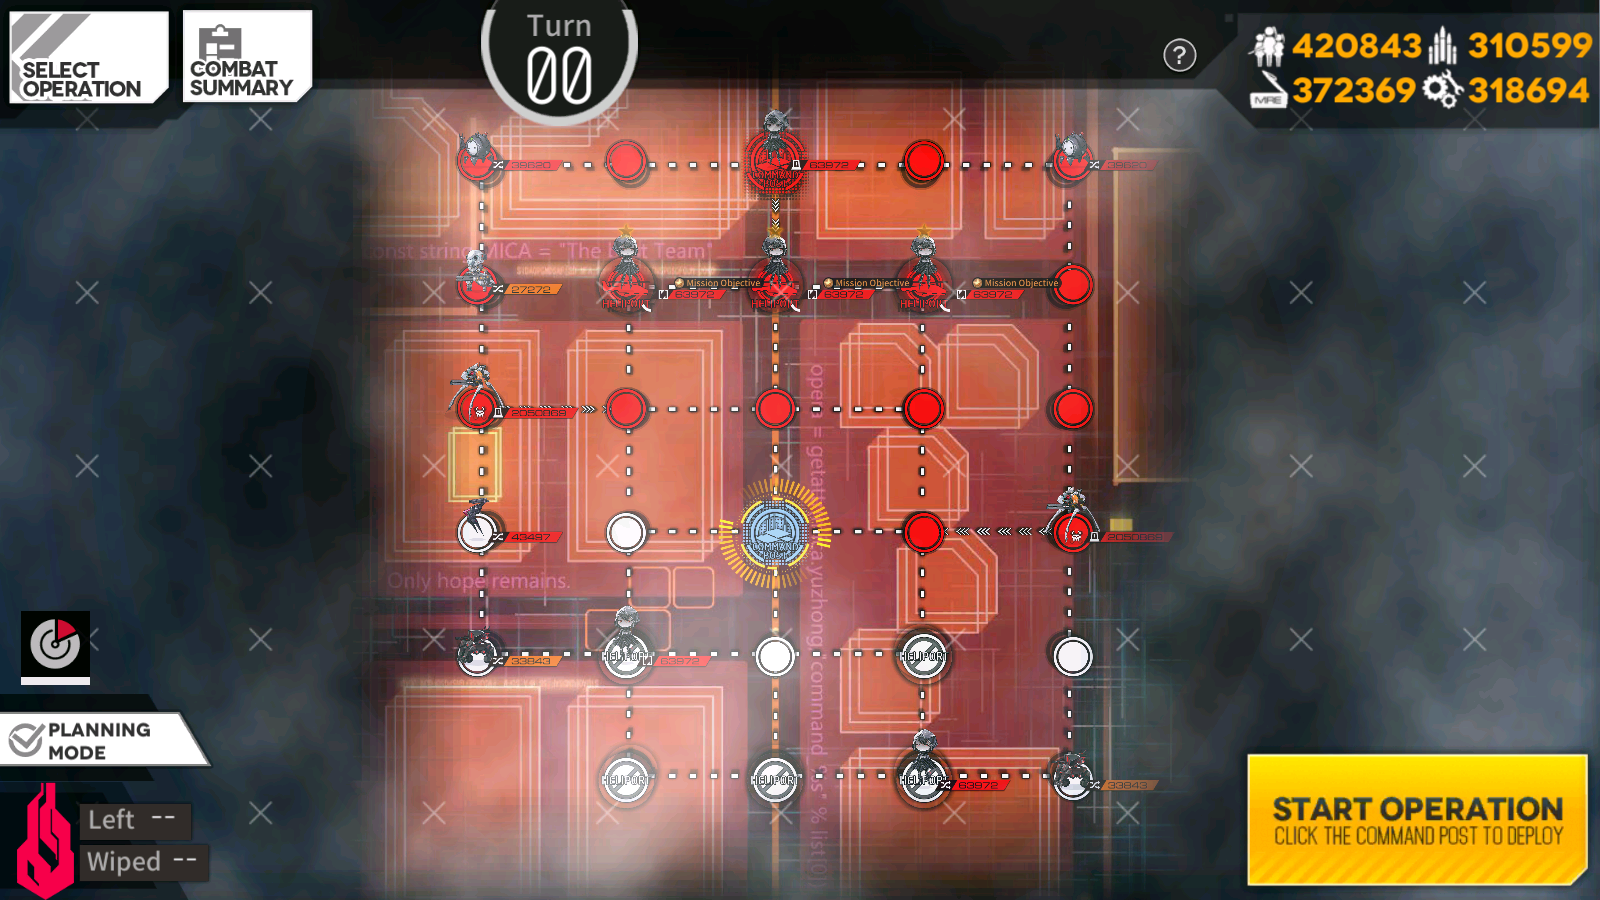
This objective has us kill all of the failed Isomers, yes, even the ones that aren't marked. We have a couple floating below our Command Center, and a bunch that will move down toward us. We also have one on the enemy Command Center, but it isn't too hard to get to. Overall, pretty simple since we just need to do elimination with nothing special going on.
Since we have a bunch of closed Heliports below us, and an Isomer sitting on one of them, our turn one should just be to kill the Isomer sitting on the closed Heliport to the bottom left of our Command Center. It'll cut out some of the movement it can do which may make trouble for us later.
On turn two, we need to pull out a second echelon to clear out the approaching Isomers from the top of the map. Deploy it from your Command Center and move up one node. Staying there will make one of the other Isomers alerted to you and will cut out some needed movement. For our last AP, you could deploy a dummy echelon, or move your first echelon down one node to take another closed Heliport. I prefer the second option, since it'll get you closer to the Isomer on the bottom right.
For turn three, move your second echelon up one so it's next to the enemy Command Center. The Isomer on it will alert and attack you on its turn. With your remaining AP, kill the Isomer on the bottom right with your first echelon, then walk to the remaining Isomer. You probably won't have enough AP to kill it this turn, so do so on the next turn to end the map.
Objective 2
For this objective, we need to take one of the side routes up to the enemy Command Center. The problem is, each of them are blocked by almost unkillable Patrollers. There are also Isomers slowly coming to take your Command Center. Very slowly. So we gotta bait out one of the Patrollers while defending our Command Center. Not the hardest thing to do.
Like objective one, our first move is to grab a closed Heliport on turn one. We don't need to bait the Patroller just yet, and we also don't need to defend our Command Center yet. Moving down twice will get us closer to the paths, while getting us extra AP.
Turn two is when we'll start being threatened on our Command Center. Deploy a second combat echelon on it and then move your first echelon to the right one node. We want another closed Heliport, and we want to ensure that the Patroller will go towards our second echelon. You can end the turn now, since you can't really do much with that last AP. Do note that the Patroller should move before the Isomer, which will prevent it from moving any more. This in turn will make it so you don't accidentally finish the first objective.
On turn three, we're close to being done. At this point, we need to move our second echelon off our Command Center. Move down one node so it's out of the Patroller's alert radius. It won't move unless you're near it now. The final thing you need to do now is just walk your first echelon up the right side of the map to the enemy Command Center. You should be able to take it and end the map on turn four.
Videos of me clearing this map
Objective 1
Objective 2
Author: Kazuki
Tags: Shattered Connexion