


Above the Hubbub V EX
Objective: Defeat the boss (M16)
Recommended Echelon(s): AR/SMG (x2), Dummy
Yeah, so, remember SWAP units from earlier? We got round two of a good assortment of SWAP units here. They're blockading the way to a dead Golyat so we can bypass the debris in the way. While going to grab the bomb is the intended method for clearing this map, for this guide we'll be bypassing it and blowing the rocks up manually. Why? Because fuck that section of the map, it's scuffed. The difficulty of the units there will likely give a lot of people issues, so we're doing it the expensive way. A video of clearing it normally will be provided, if you wish to try.
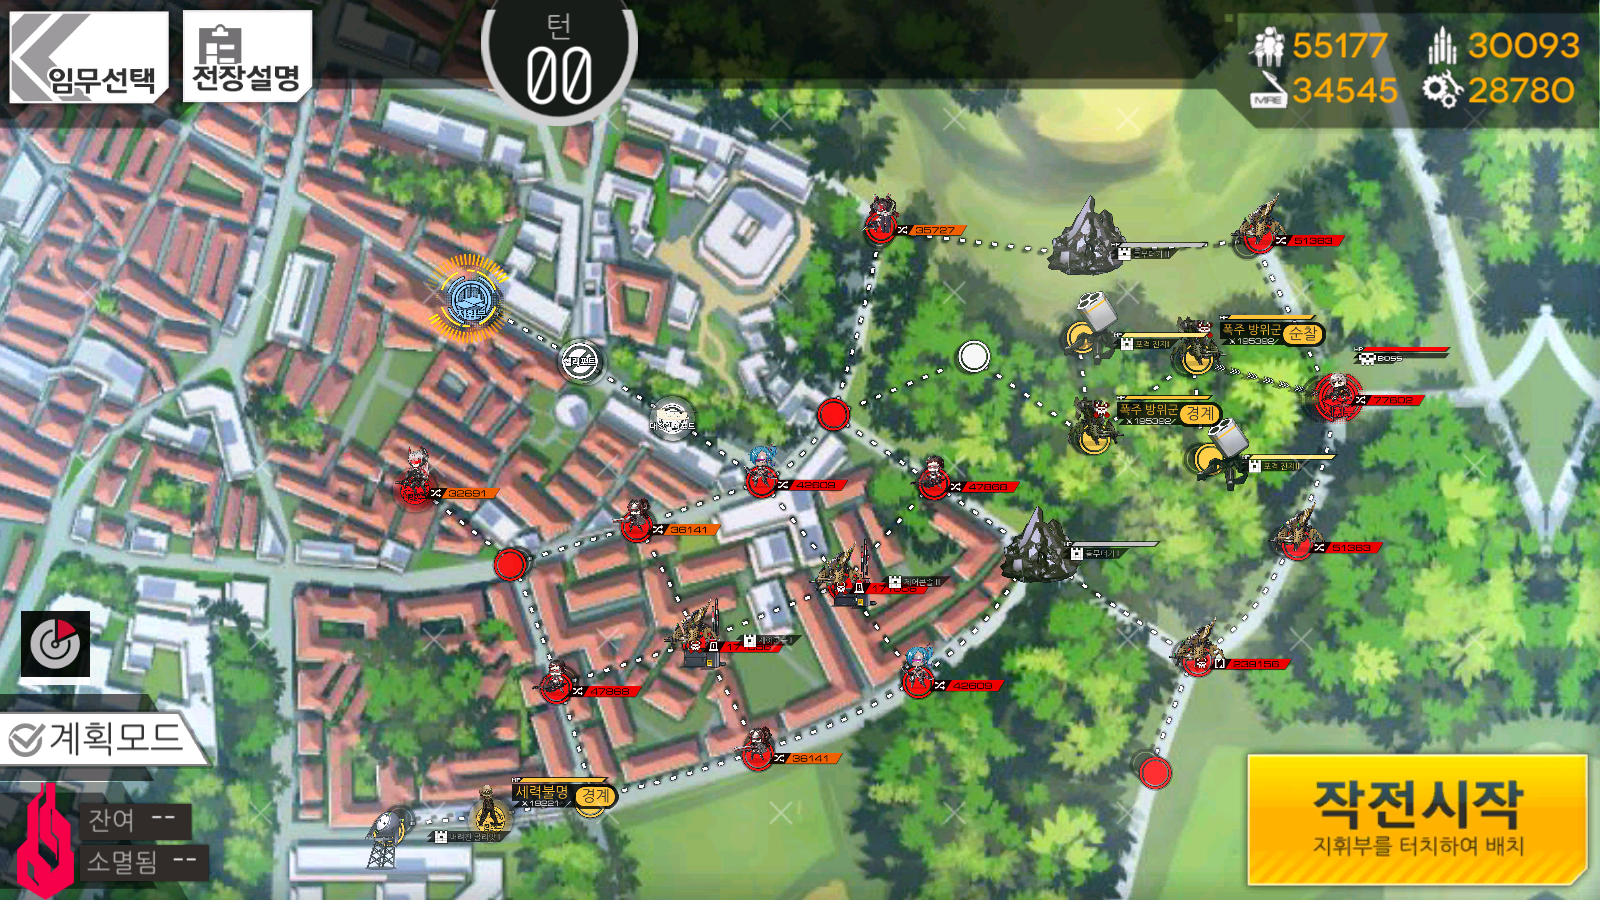
Because we're going for blasting rocks, the goal is to get BGM into a position to where we can resupply it and still hit the rocks. Thankfully, to aim at both of the rocks, we only need to move a few nodes away from a Heliport. However, this is within aggro radius of a Manticore death stack. So we need to do all the setup within a single turn.
For turn one, we need to build AP as well as capture a Heavy Heliport. You have one right next to your Command Center, so take that. Don't worry about the Manticore being within aggro radius, it won't move due to movement priority AI bullshit, so you can safely take that Heavy Heliport.
On turn two, we need more AP to deploy all the things we need, but the Manticores will block your path if you try and set up now. Deploy a Dummy on your Command Center, and clear a path to the debris at the north end of the map. This route is safer, since you don't need to deal with a patrolling Manticore death stack this way.
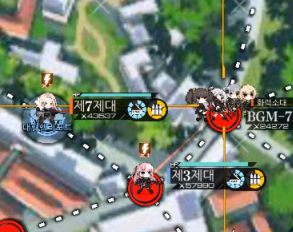
On turn three, we can destroy the debris finally. Deploy a second echelon on the Heavy Heliport to deal with an enemy if it moved there, or another dummy if it's clear. Move your first echelon down so we can set up a line of units to swap around. Now you can deploy your HOC and it'll look like this:
From here, it's just blowing up the rock and resupplying the HOC until the rock's broken. Repair if you need to on whatever echelon you're bringing for M16, then make sure your other units are safe from the Manticore before ending the turn. From here it's just a straight shot to M16.
M16 in Isomer is slightly different from the one we fought in Singularity, but it's overall the same. The only new attack she has is the addition of a hand grenade toss that lights up columns and maybe rows. Just dodge that like you would any other attack. The time you have to move your units out of the way is fairly generous. If you need a more detailed strategy guide for M16, please look at this page of Singularity's Chapter 3 hidden map. It covers her move set aside from the grenade. Also, her stun grenade might be busted. Dunno if it'll be like that for EN though. Once you've beaten her, congrats, you've beaten Isomer EX!
Videos of me clearing this map
Alternative method with no HOC used
Author: Kazuki
Tags: Isomer