


Operation Arctic 3-4
Intro/Discussion#
The final map of Arctic's story. The difficulty from 3-3 gets ramped up even more with numerous bosses guarding Architect. Like 3-3, you'll want to bring multiple echelons for this. The main issue is that your Command Center is likely to be taken if you leave it alone. It's entirely possible that you could get lucky and take the heliport spawning enemies before you lose it, but it's definitely not a consistant strategy. Because of this, two echelons is the minimum I'd recommend taking. To speed things up, ideally you'd take three echelons. One to guard your Command Center, the other to guard the heliport you start with, and one to take out Architect.
As for compositions go, I'd heavily suggest using AR/SMG echelons to deal with all of the bosses. This is due to the skills the bosses use dealing a fair amount of damage and requiring you to move units to not get hit. MGs and RFs have very low movement speed, making it difficult for them to pull this off.
For my own echelons, I'll be using the same MG echelon I used in 3-3 to defend. I'll also be moving AN-94 into my main echelon to give it a boost in power. G11 will be picking up AN-94's absence in my second AR echelon. Since I'm only using one echelon to do the boss killing, it's likely that I'll have to do a quick repair on a heliport. If you bring multiple echelons that can deal with bosses, you could avoid the slow wear on your tanks from all of the Gagers along the routes to Architect. I'm interested in speed, which means I'll ignore that and eat the quick repair costs.
Strategy#
The goal for this map is to defeat the boss, Architect. (If it's not clear on the photo, she's in the middle of the map on the enemy Command Center.)
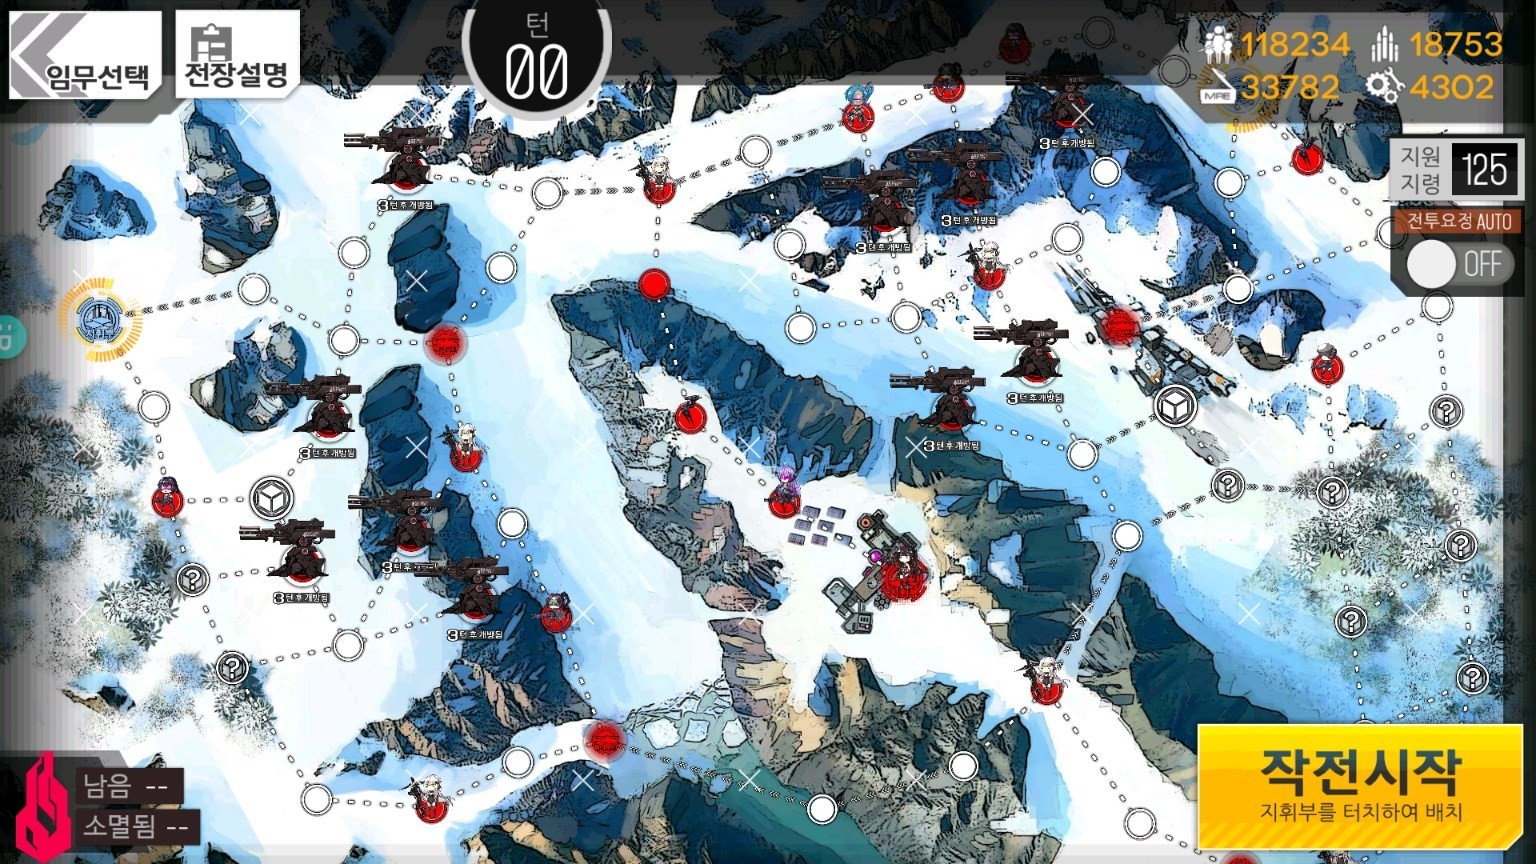
Starting up the map, you'll notice that you have control of a heliport on the right side of the map. This gives you two methods of entry to the one path that leads to Architect. The heliport on the right is okay, but the route to her is much longer if you don't bust through the Jupiter Cannons blocking the way. This makes the other method, going from your Command Center, the better option. It's shorter and eliminates the heliport that send reinforcements to assault your Command Center.
As long as you avoid Jupiter Cannons you should be alright. The route from your Command Center is pretty clear cut. You have to take out three Gagers total, and then Architect. You'll have a chance after the second Gager to quick repair, but you'll have to do the third one without any repairs. You other option is to use one echelon to clear out all of the Gagers and save your main echelon's health for Architect. A good option is to have your echelon that's defending your base move in by killing one of the Jupiter Cannons after deactivating it. That way you have a mostly fresh echelon to take on the last few enemies.
Speaking of Architect, she's more or less the same compared to 2-4. She has increased stats across the board, which is where most of the difficulty is for this. I will say that if you didn't take the warning from the discussion, you definitely shouldn't use MG/SG echelons on this. Her firepower is sufficiently high, that the armour isn't very effective against her. It's the same thing as fighting Destroyer with shotguns, don't do it.
This her stats if you want to get some idea of it:

The second row of stats is the Architect in this map. So yeah, don't do it.
Here's a video of me clearing this map. There's a few errors in here, one particular bad one, in Architect where I fumbled movement up and ended up having UMP45 and M4A1 take a nuke.
Author: Kazuki
Tags: Operation Arctic