


Operation Arctic 3-3
Intro/Discussion#
This is the first day battle in chapter 3, and oh boy, it's a fun one. The real difficulty spike in chapter 3 starts here. This is where the MG echelon I had listed in 3-1 comes into use. You really want three or more echelons for this, since you have to defend your base as well as take two seperate nodes to capture the enemy Command Center.
Since we're out of night battles, I switched out multiple things in my echelons. Welrod and Python are out, to be replaced with SR-3MP and Ribeyrolles. PEQ boxes are out as well, just replaced with crit scopes.
I'm also using a 4th echelon, however it's just a dummy echelon. Only there for AP and to swap my units around as needed.
Also, for this chapter, the game throws you another new mechanic! An entirely new unit type, Brutes:

These enemies are built to take out shotguns. They have insanely high armor penetration and high attack speed, making them very good at their job. The downside is that they have VERY poor accuracy. The main counter to them is to tank them with anything not a shotgun. This is a large portion of why I used a 3MG/1HG/1SG echelon. If your MG echelon has to fight them, you can just swap Mk23 to be the main tank instead of your SG.
Strategy#
The goal for this map is to take the enemy Command Center. However, there's no way to put a unit on it. Thus, you need to encircle the Command Center to take it.
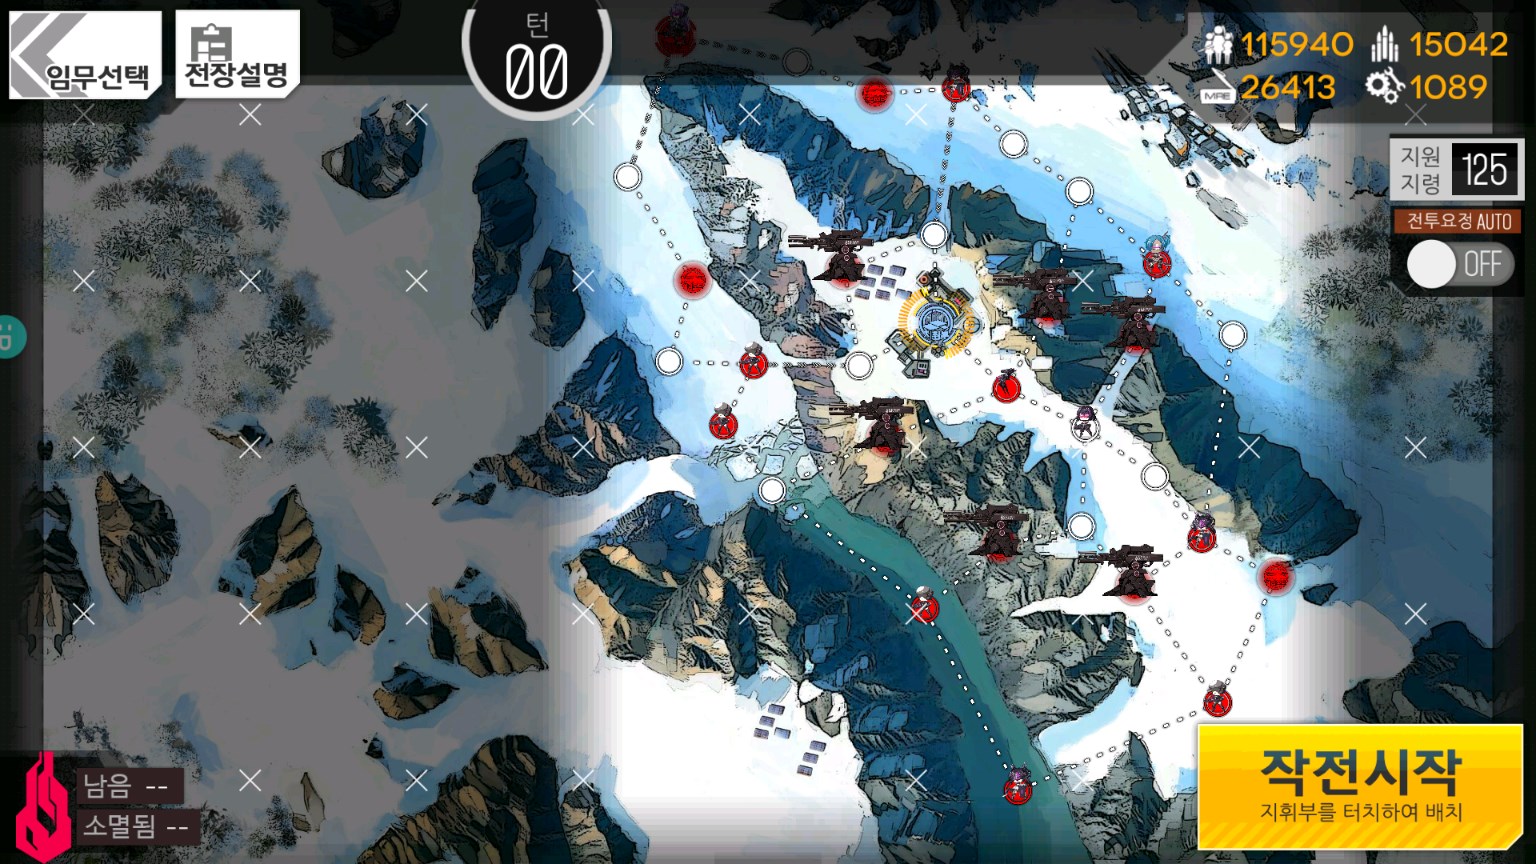
So, now that you can see the entire map, there's not going to be any surprise Jupiter Cannons. However, now we're stuck having to go around the majority of them to secure the nodes around the enemy Command Center to capture it. To give you additional difficulty, there's one way paths funneling into your Command Center with endless amounts of Sangvis units coming in from the heliports. Because of this, it's ideal to use three echelons here. Two to push down the left and right sides of the map and one to defend your Command Center.
As mentioned, the idea is to push south with two echelons, then diverge with one echelon on each side of the map after getting to the unoccupied heliport. You can use that heliport to restock on ammo to get ready to blitz back up to the heliports spawning enemies. Personally, I left one echelon defending that heliport. You have a limited amount of ammo, and letting one of the heliports stack enemies in that route up to it can mean you don't have enough ammo to deal with it all. Thus, rushing it down in one turn is ideal. Once you take out the heliport, you can start progressing up the other side. If you do run out of ammo, the backup plan is to take out one of the Jupiter Cannons and resupply at the heliport under it. I use this strategy in the clear video I have below.
The key to make this faster is to use the node next to the one way to your base as a way to start capturing nodes up to the heliport and the enemy Command Center. You want to do this by taking the node connecting the one way to your Command Center so you don't immediately get encircled when you try this strategy.
It'll look a bit like this:

From here, you can clear back to a Jupiter Cannon, or push forward to the heliport. Just be sure you have enough ammo if you do push forward.
Once you capture and hold the two nodes around the enemy Command Center, you'll encircle it and end the map.
Here's a video of me clearing this map.
Author: Kazuki
Tags: Operation Arctic