


Operation Deep Dive 3-4
Intro#
Last map, not as much of a clusterfuck as 2-4, thankfully. The only thing that's remotely difficult is Gaia, the boss of this chapter, but even then she's not too bad to fight.
Due to the map's composition and the echelon restrictions, you may want to run one AR/SMG at least. You'll want it to deal with the bosses in the map. The mixed enemy composition isn't too big of a deal since all of the enemies on the map have either low evade or no evade. You can make it work with two AR/SMG, but I'd consider RFs or MGs cause fuck jaegers. Your call really.
Strategy#
The objective of this map is to rescue and extract two hostages within 10 turns.
There are two bosses on the map: Gaia and Garm.
Echelon limit of 2.
Mixed armour and unarmoured enemies.
Most of the left side of the map is armoured, most of the right side is unarmoured.
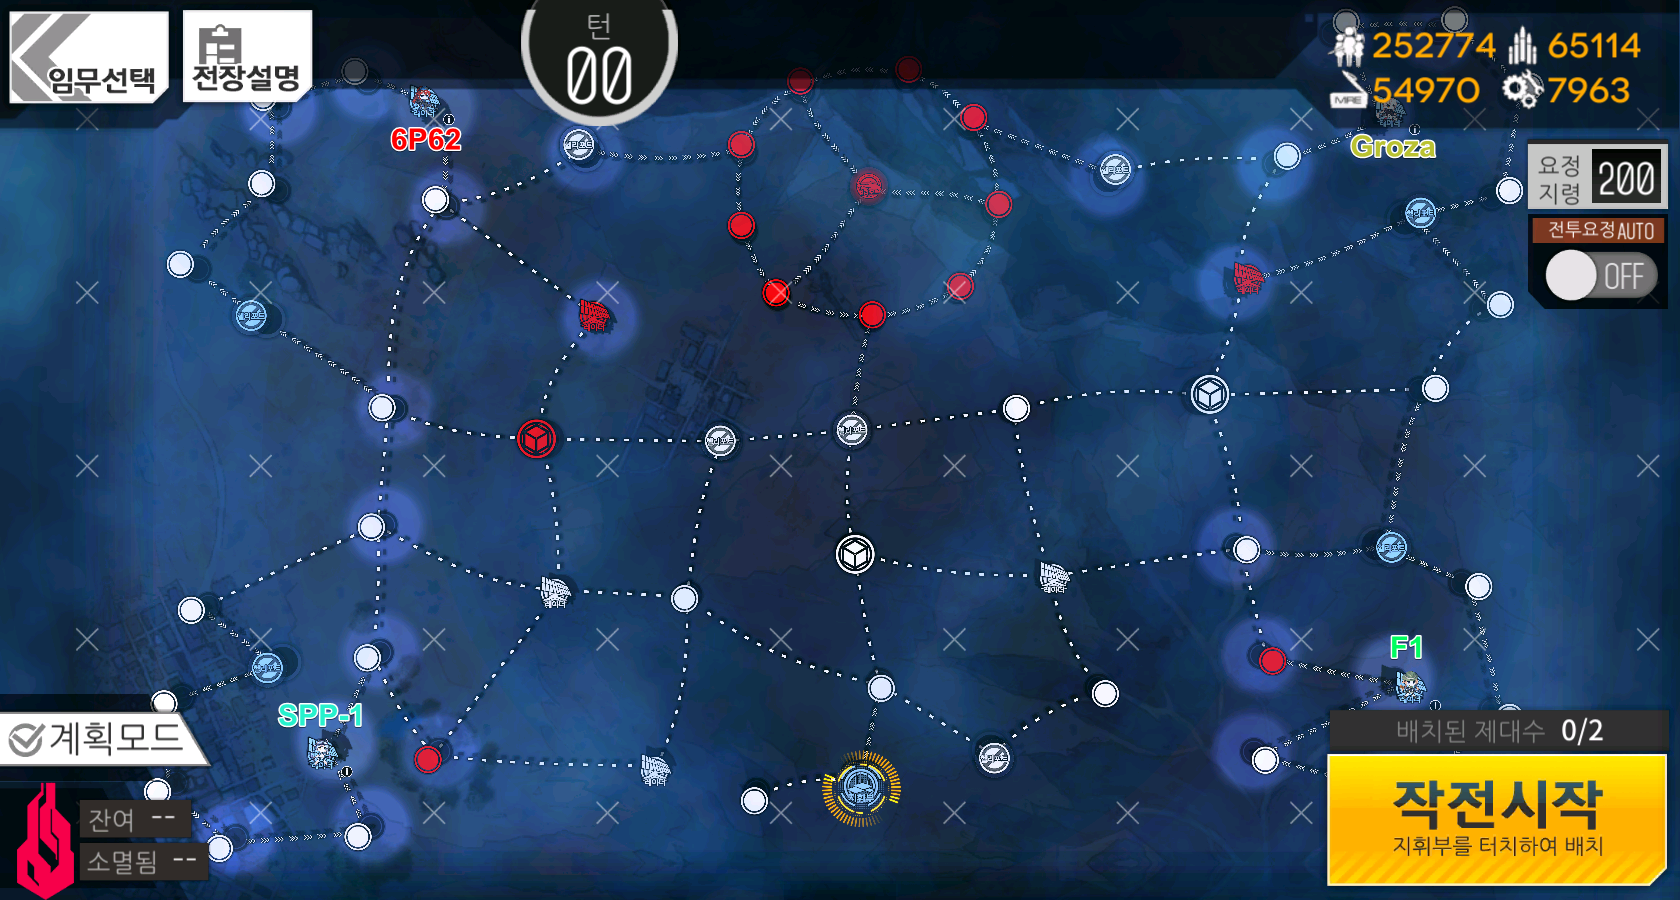
You know how since 2-4 everything felt complicated? Yeah, 3-4 says fuck that. It replaces complicated mechanics with RNG, hurrah. The RNG in this map comes down to which hostages are rescuable. As you can tell by the map, there's 4 available but you're only required to rescue two. This is because two of those hostages have red golyats blocking them. One of the other two is unguarded, but the second is guarded by Garm.
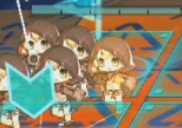
There's one very easy method for determining which hostage will be the safe one. The golyats, on turn 1, will always take one of the nodes next to one of the closed heliports you start with. For example:
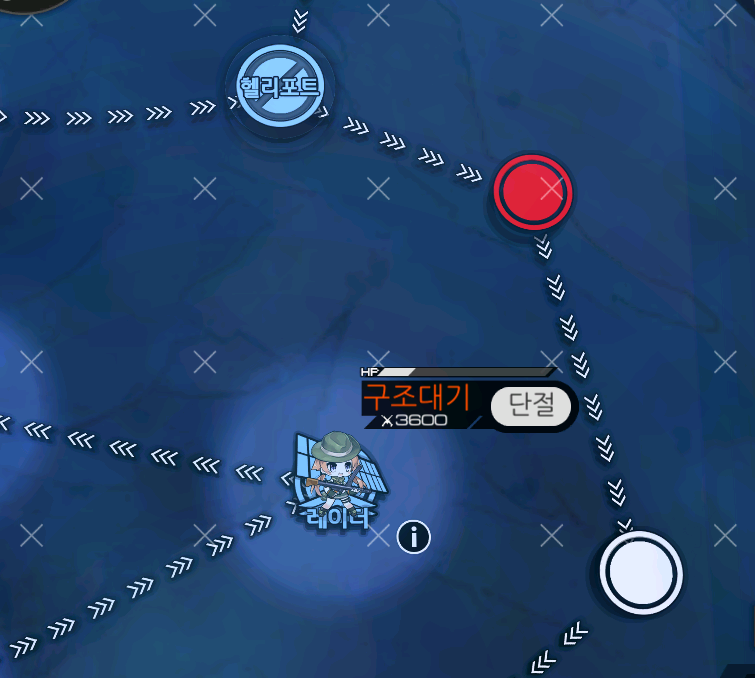
On turn 2 you'll know which hostage you'll want to go for by looking which hostage doesn't have that node taken. Now, do note that Garm will always be going after a hostage, so it'll look the same as a golyat. The only thing I can see, pattern wise, is that he'll likely to be after 6P62, and rarely SPP-1.
On the topic of Garm, he's exactly the same in this map as 2-4's Garm, so the strats for that won't change.
Once you've secured the two hostages, you'll need to get to the only heliport on the map.
As you could probably guess, that heliport is where the boss of the map is. I'll have a section below covering what she does.
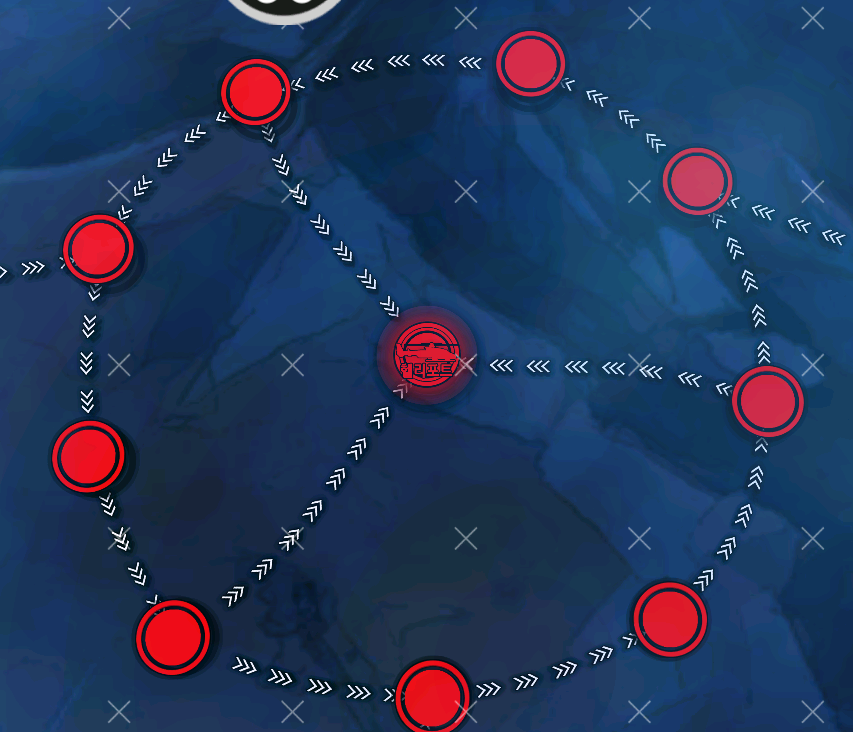
But to finish off this strategy section, you'll need to take that heliport to extract the hostages. Like the other maps with a circle around an important objective, it's surrounded by red golyats. There's only three here, thankfully. To avoid some dumb positioning issues, you may want to have your second echelon enter the circle on a different part of the map, rather than both echelons going in at the same entrance. It'll allow you to get an easier heliport capture.
Send your ideal boss murder echelon in the middle when you can access it and kill Gaia. After, you'll have your other echelon on an adjacent node so you can actually take the heliport without it being surrounded immediately. There's one key thing to make sure of is to not idle on the heliport. If a golyat comes around to one of the nodes that lets it move onto it, it will move onto the heliport. Be sure that you're ready to extract both of the hostages on the same turn. You'll have to retreat one of your echelons to actually be able to extract the second hostage, but it won't lose you your S rank.
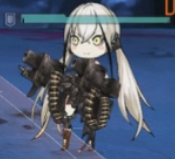
Gaia#
Oh hey. Destroyer but not a loli. No really, she's basically destroyer with some skills.
The big things that you'll need to look out for is the row AoE that she drops early on in the fight. It'll most likely target the top row, so be ready to deal with that. The easiest way to deal with it is to just swap the units you have in the 1 and 7 positions. You'll be able to avoid it even if it goes to the bottom row. The visual cue for this has her move her rocket launchers upwards like:
She'll duck them down first, so you'll probably want to start moving your units then. She'll occasionally use it throughout the fight, without any HP thresholds.
Her second skill she gets in this fight is a giant fuck you nuke, that can't be dodged normally. She'll fire these at roughly around 66% and 33%. If you remember Architect from Arctic, it's like that. Cept now it's fucking massive and the it tracks the target. So you'll have to retreat the target if you don't wanna just straight up eat the damage.
(Please don't hate me for leaving my mouse in here, I stole the picture from my recording)
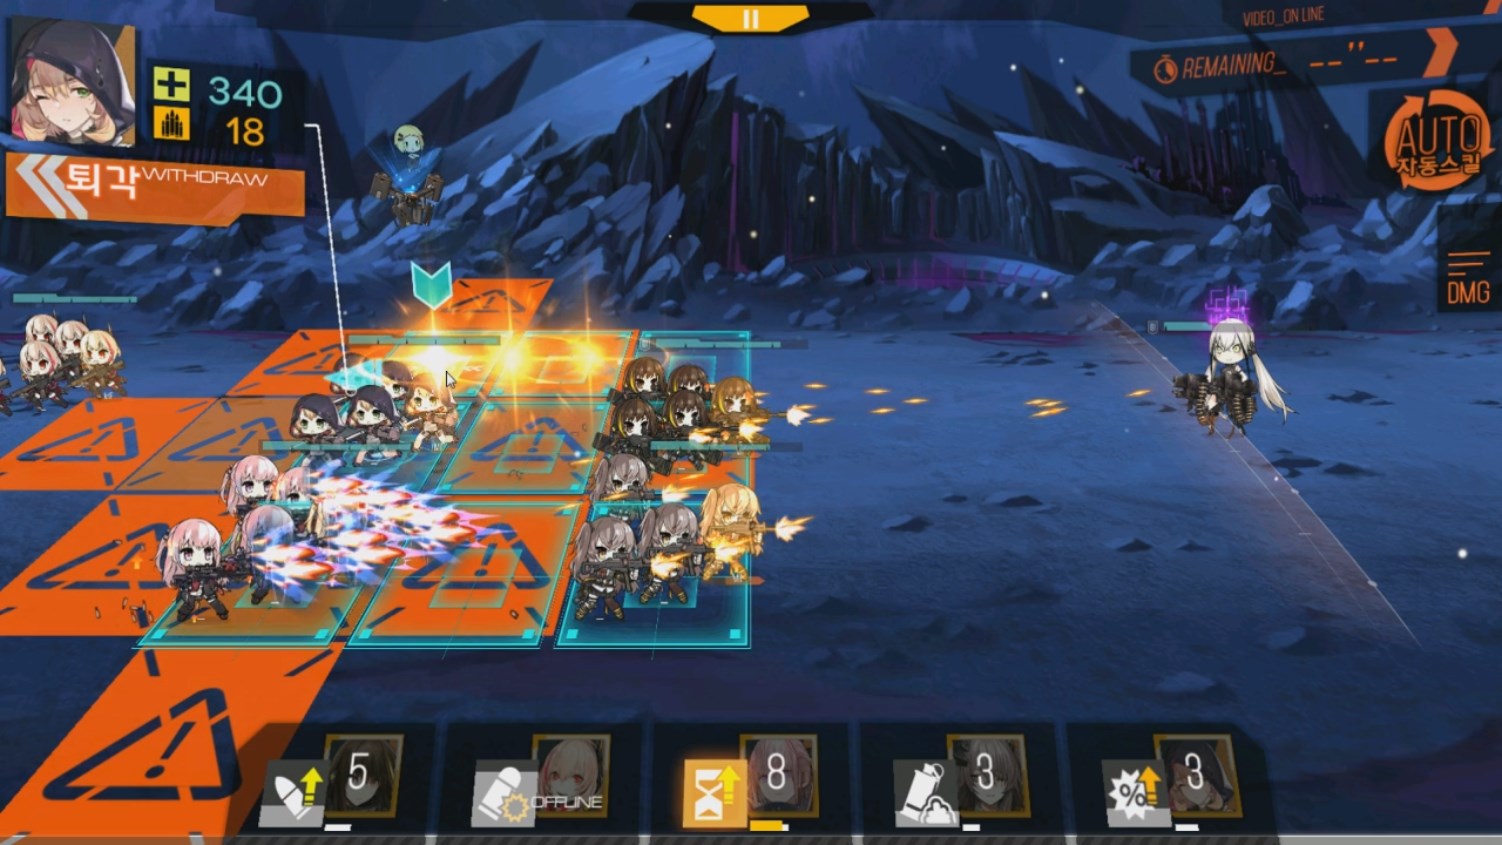
Now the trick to this is, you can actually avoid the damage from the nuke, at least the damage to stuff that isn't the target. The technique for this just involves retreating the nuke's target in between tiles. Pretty simple.
An example of what I mean by between tiles:
That's about it for Gaia. Thankfully she's not too hard to deal with if you have a little practice.
Video of me clearing this map
Author: Kazuki
Tags: Deep Dive