


Operation Deep Dive 3-1
Intro#
With the mess of 2-4 out of the way, we're back in maps that don't make me want to die. Unfortunately, things do just keep getting harder going into chapter 3. At least 3-1 eases you into it, enemy CE isn't quite up into super difficult territories. However, you're starting to be pressed to deploy more and more echelons. Best be ready to field around 4 echelons for 3-2! Also be ready to do even more night battles with those echelons as well, since chapter 3 is mixed between night and day battles.
You'll also start seeing some real good use of your parachute fairy here as well. 3-1, 3-2, and 3-3 all feature time-saving skips provided you have the fairy and skill level required for it.
Echelon Stuff#
For chapter 3, I'll be fielding 4 combat echelons. You'll want this many due to the massive size of some of the maps.
Echelon 1
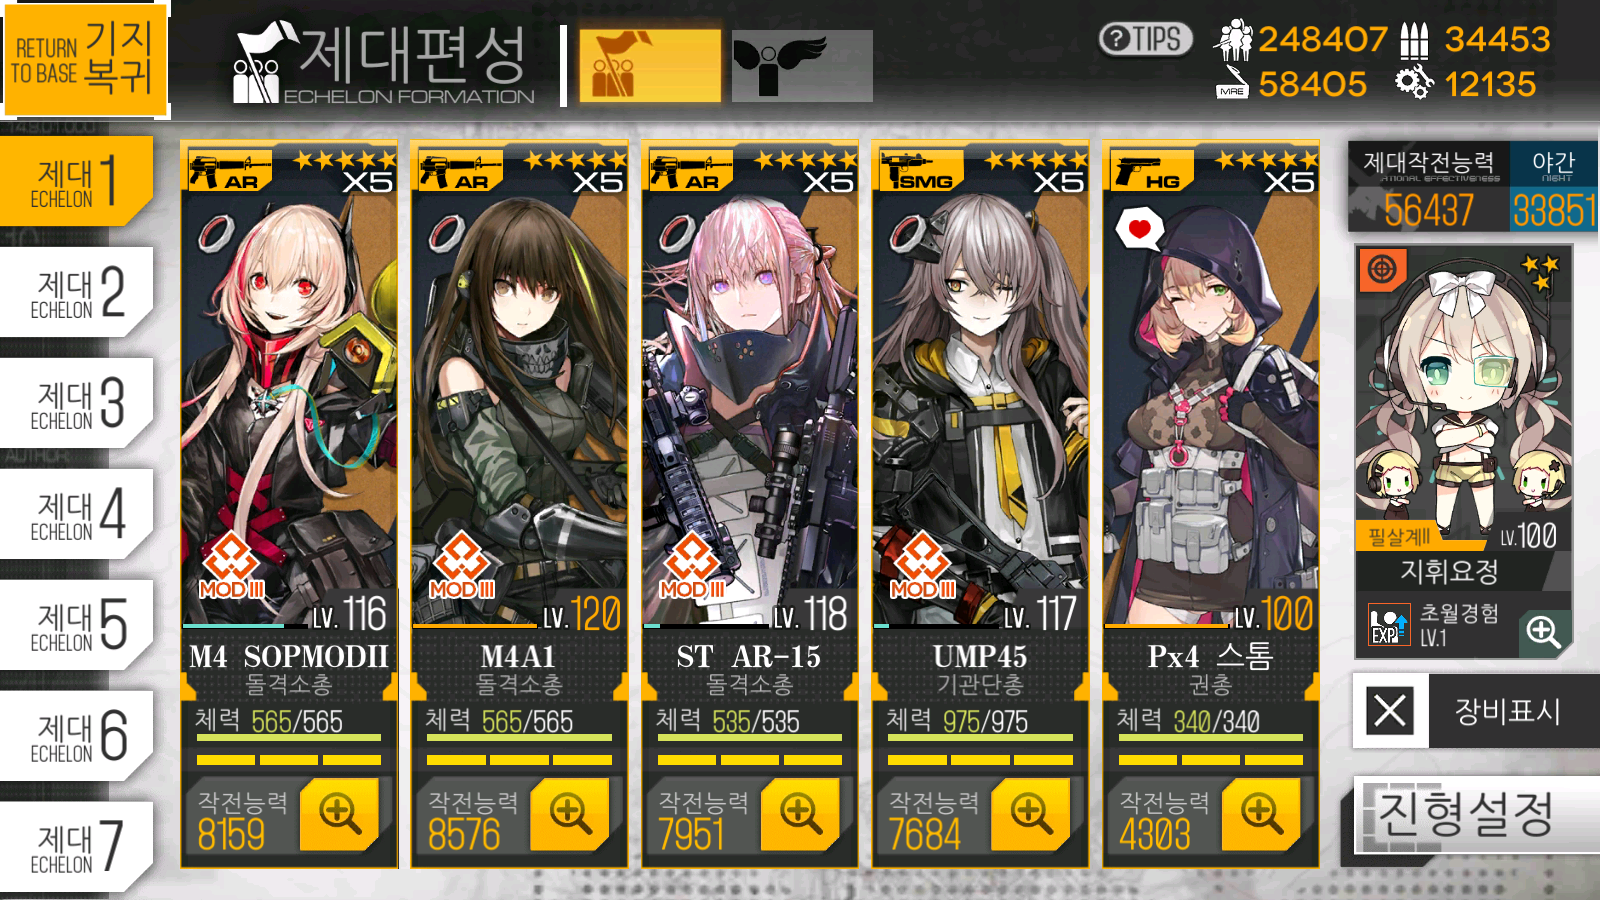
A standard AR echelon.
Echelon 2
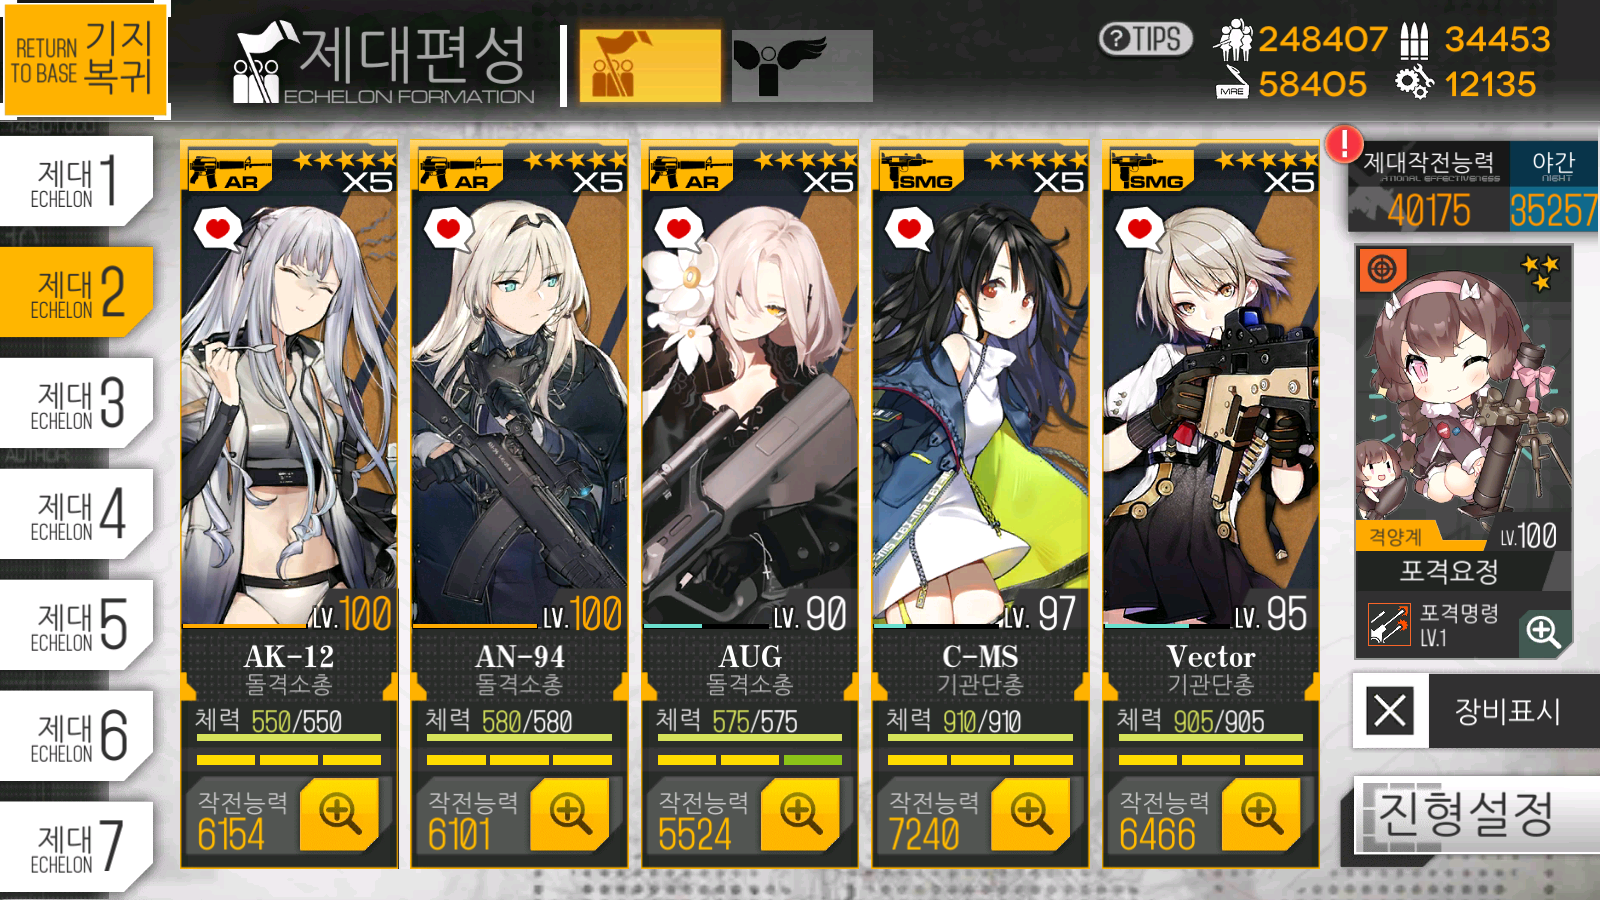
Another standard AR echelon. You'll probably need to put in a HG for the night battle maps.
Echelon 3
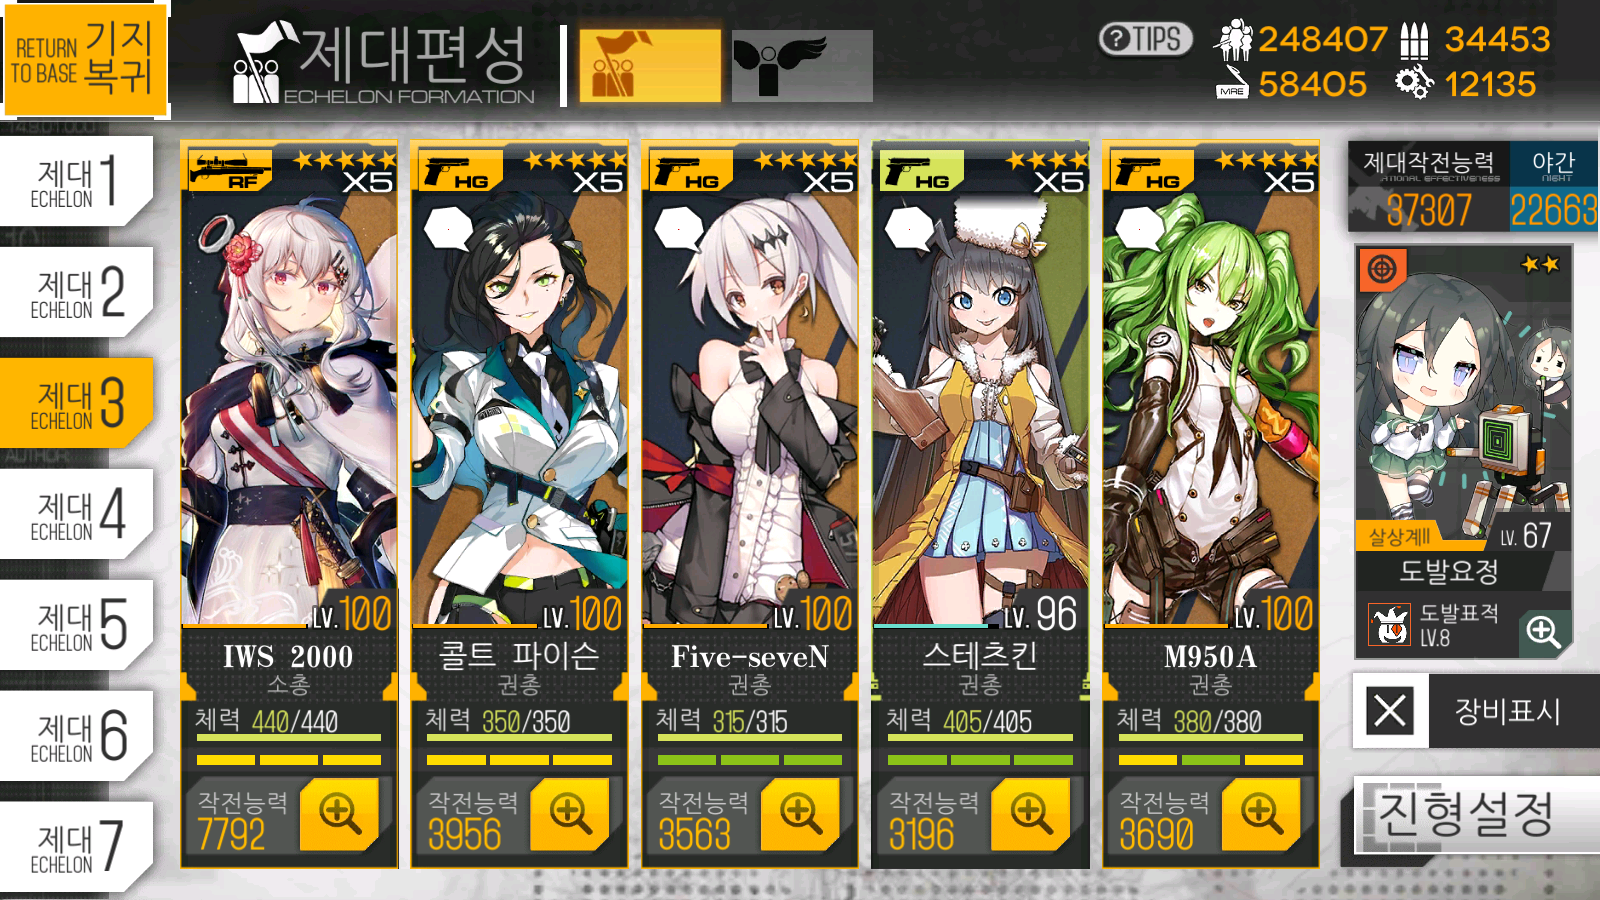
This could be a standard RF echelon, but I really like IWS. Sue me.
Echelon 4

And lastly, an MG echelon.
For chapter 3, you want a mix of ARs that can deal with the unarmoured enemies that are pretty prevalent in the maps and armour pen for some of the armoured enemies that do show up. You'll be doing most of the heavy work with your ARs, however. So if you're pressed for fairies, you should probably put the better ones on those.
Strategy#
The objective for this map is to capture a supply node and maintain the supply line for two turns.
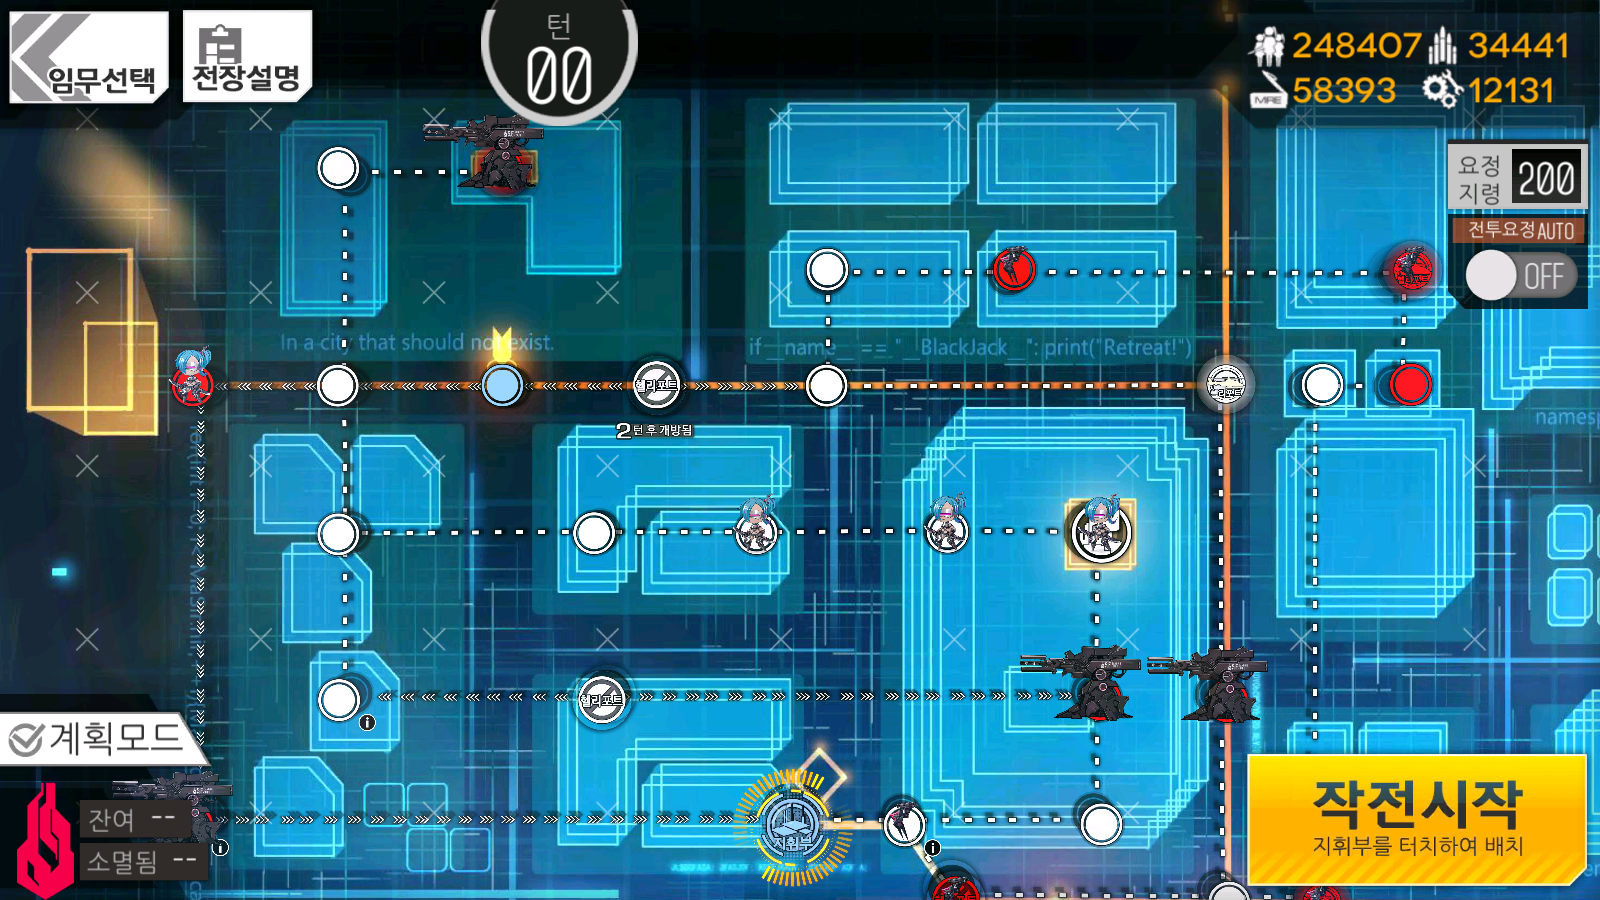
Yes, those Jupiter Cannons will fuck you up. Going around them is the best option assuming you can't surround them. Seriously, don't try it.
While the size of the map is quite large, the method of clearing it is pretty simple. Your objective (provided you don't have a parachute fairy) for the first part of the map is to get up to the top half of the map and to take this node:

This allows you to use the heliport next to the node to deploy an echelon to actually proceed to the supply line node. So yes, you do need 2 echelons for this.
You'll have to go all the way around the right side of the map to get there, however. The echelons there are mostly scout heavy, so you may want to bring something like Vector to take them on if you're struggling.
After you've taken the heliport, you need to establish a line to your command center. The shortest route that doesn't involve busting through a full powered Jupiter Cannon has you going through the left-most side of the map.
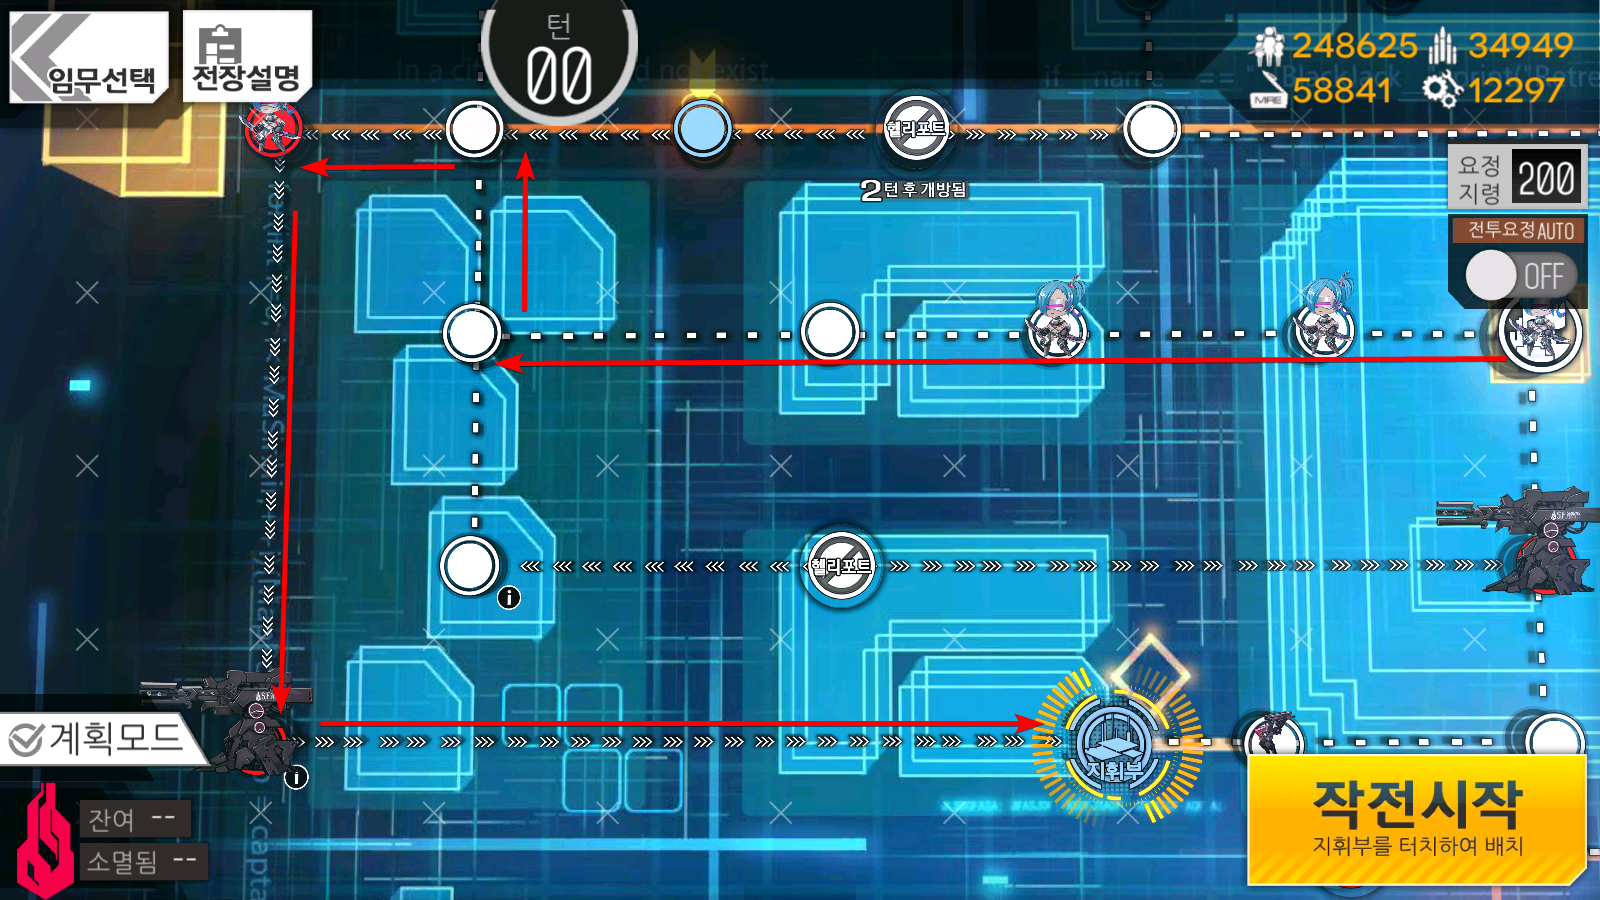
It's only a few nodes long and you'll have the Jupiter surrounded.
After two turns of holding the supply line, you'll complete the mission.
If you have a parachute fairy, you can cut the time on this map by a little bit.
Parachuting to this closed heliport here:
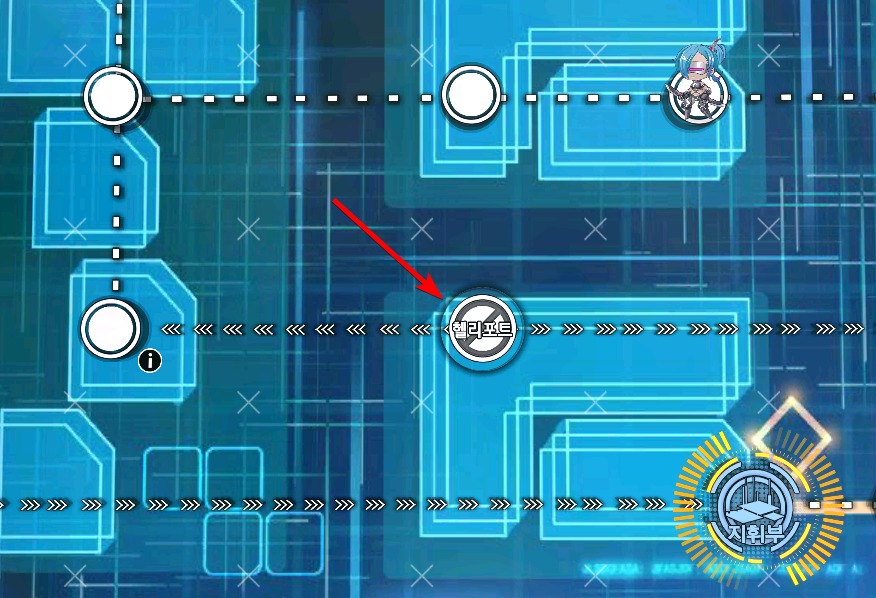
allows you access to the supply line node and also allows you to surround the Jupiter Cannon next to it. This lets you have a quick victory with a super short supply line to your command center.
Video of me clearing this map
| Previous map | Next map |
Author: Kazuki
Tags: Deep Dive